 A Beginners Guide to Alcohol MarkersDecember 13, 2021 |
Alcohol Markers can be intimidating, but really if you arm yourself with a little bit of knowledge, they can become your favorite marker! They require no prep work, they are portable, and dry instantly, however they are permanent! So, below I have listed a few beginner’s tips when starting with alcohol markers!
The first thing you want to do is choose your paper carefully!
If you are using the wrong paper it can soak up a lot of ink and it can bleed through to the other side. There are recommended papers that are made just for markers. The papers that tend to work better with alcohol markers are thin, smooth, and coated on the opposite side. Using true marker papers in the beginning will help you with your brush strokes and blending. I encourage you to try different papers to find the one that works for you and your markers. I personally like to use Neenah Classic Crest Smooth with my copic markers.
The next step should be getting to know your markers and the type of nibs that are offered.
Nibs create different strokes. The three main nibs are bullet, brush, and chisel. The bullet nib is mainly used to color in small areas and detail work. Whereas the chisel is used to fill in the larger areas. The brush can be used to for all areas, but mostly used for writing.
Practice, practice, practice!
When using alcohol markers, it is easy to leave streaks. For even coverage, move slowly and try to master laying your ink down smoothly! Moving too quickly will give a streaky look. There are different strokes you can practice, circular motion, fat flicks, thin flicks, or using the side of the nib. You will find that depending on what you are coloring some strokes will work better than others.
Another important topic to address is blending.
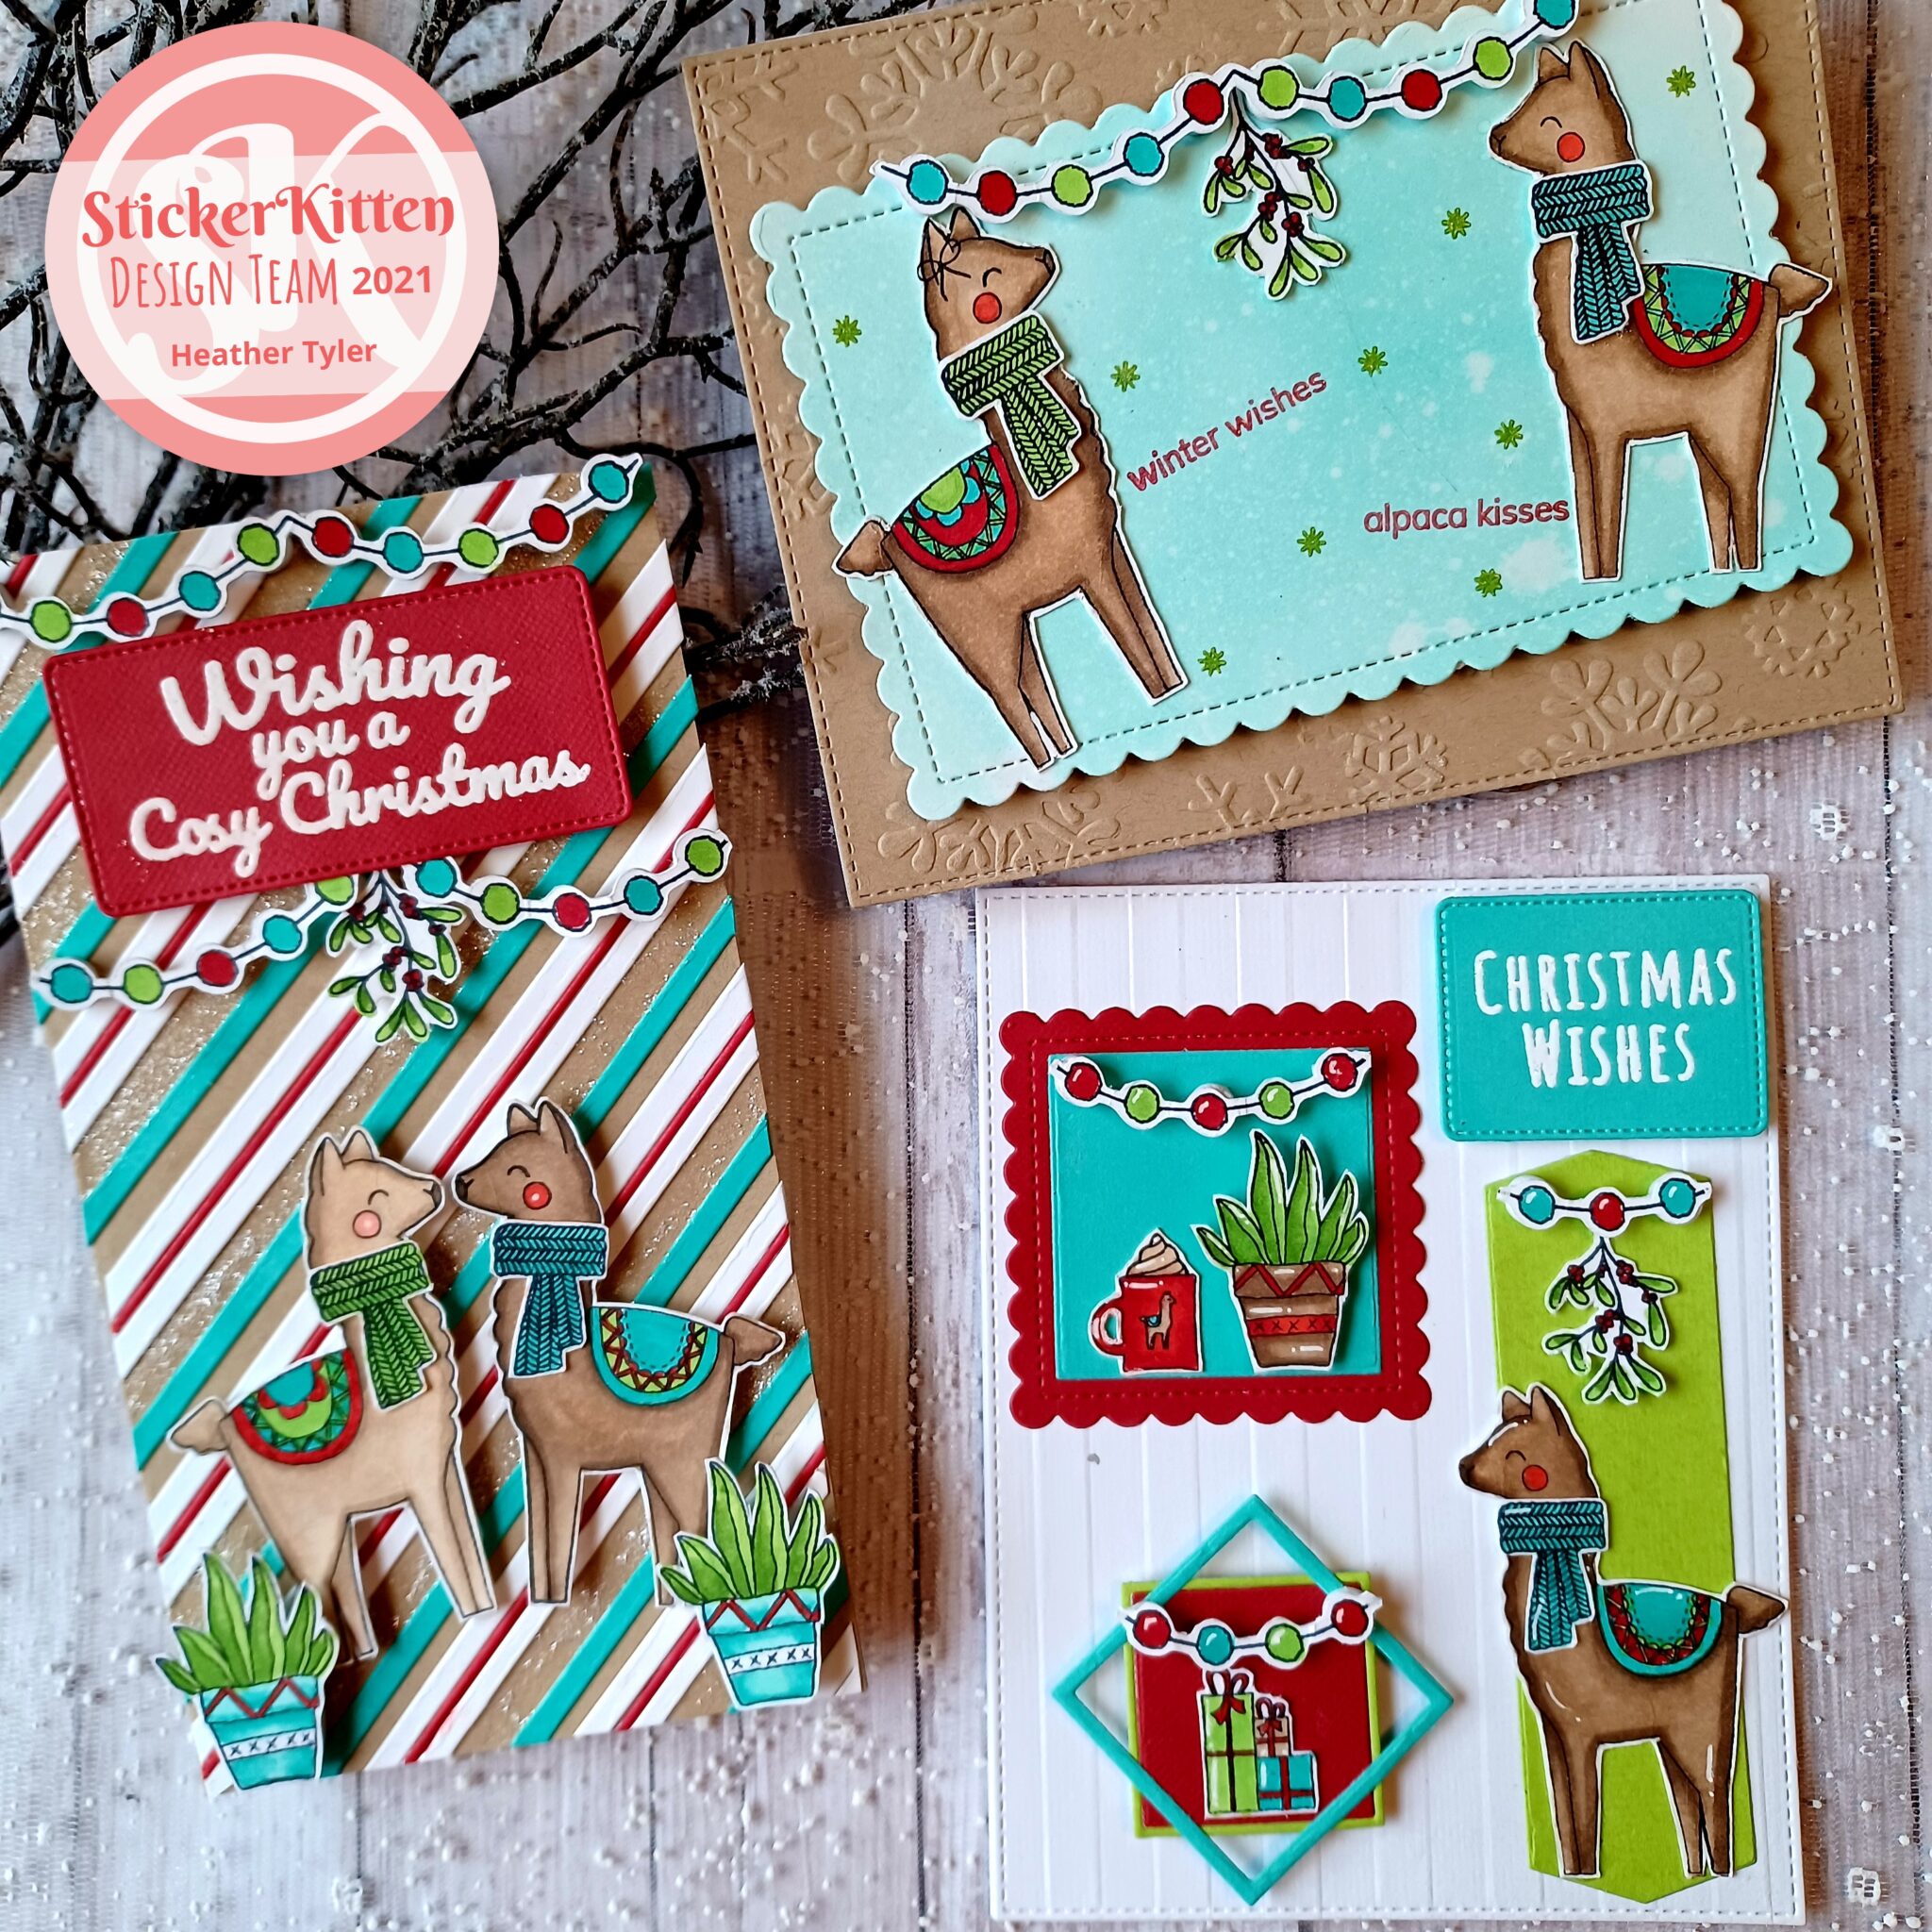
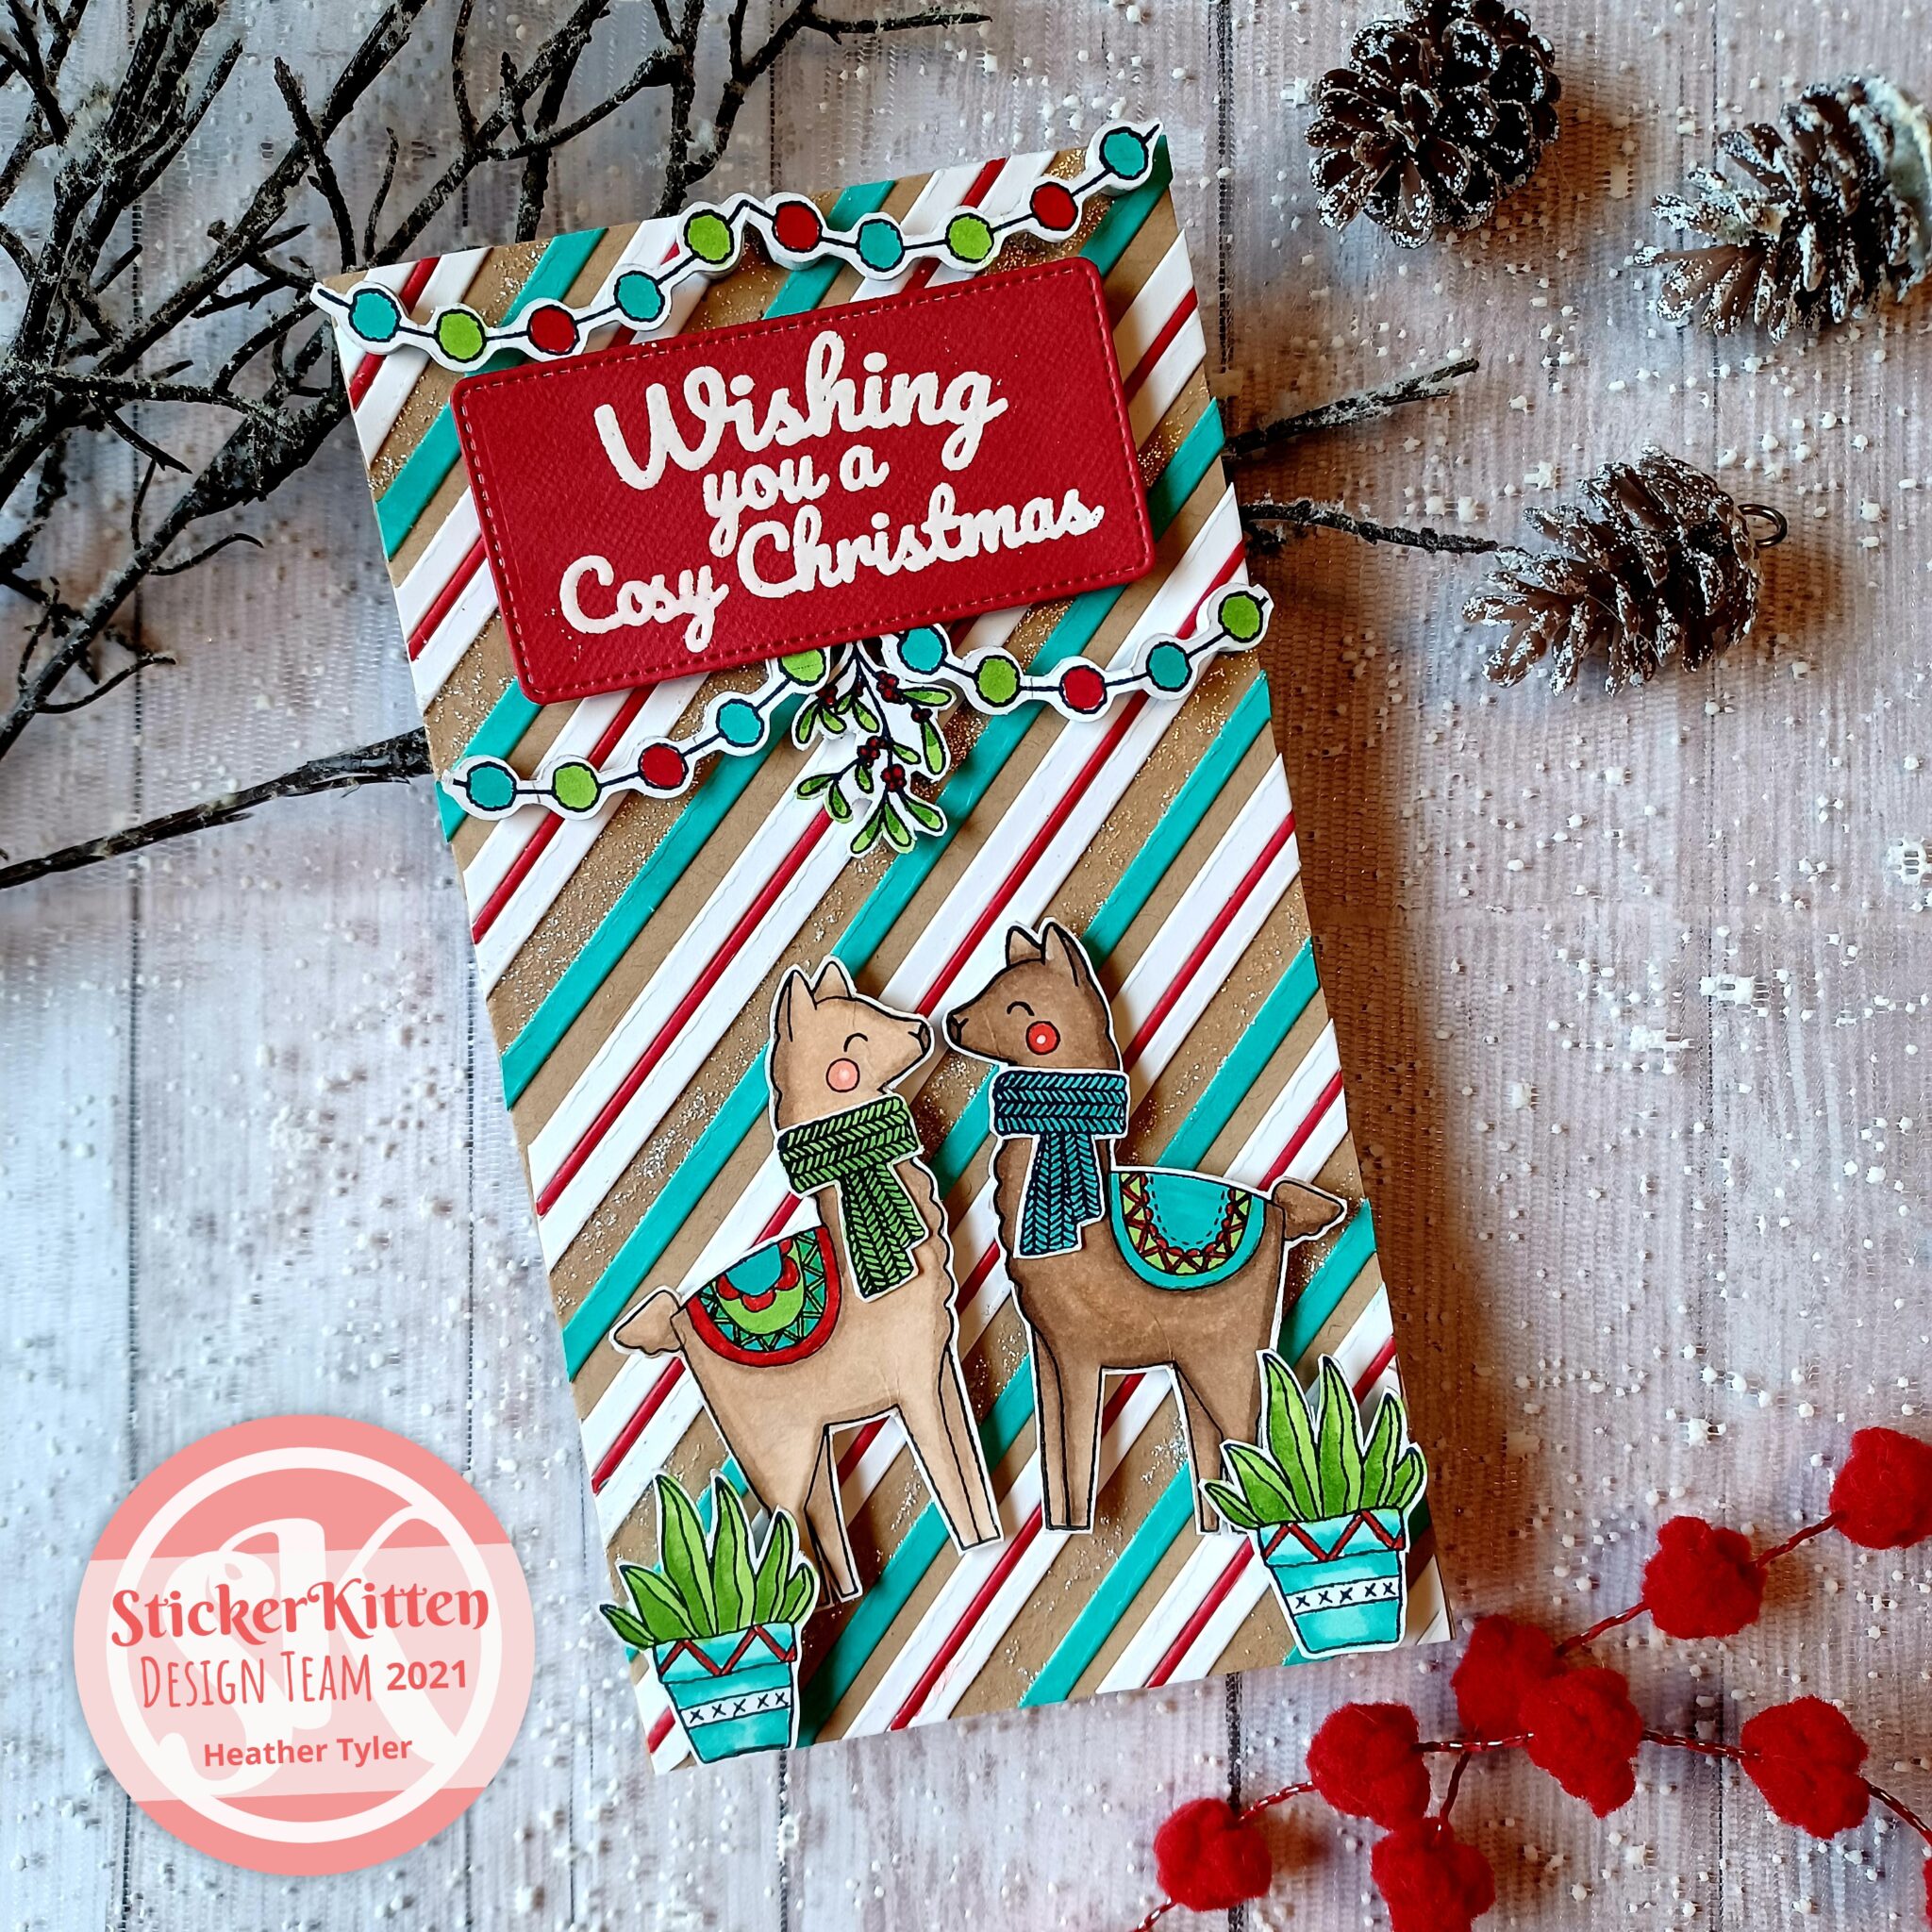
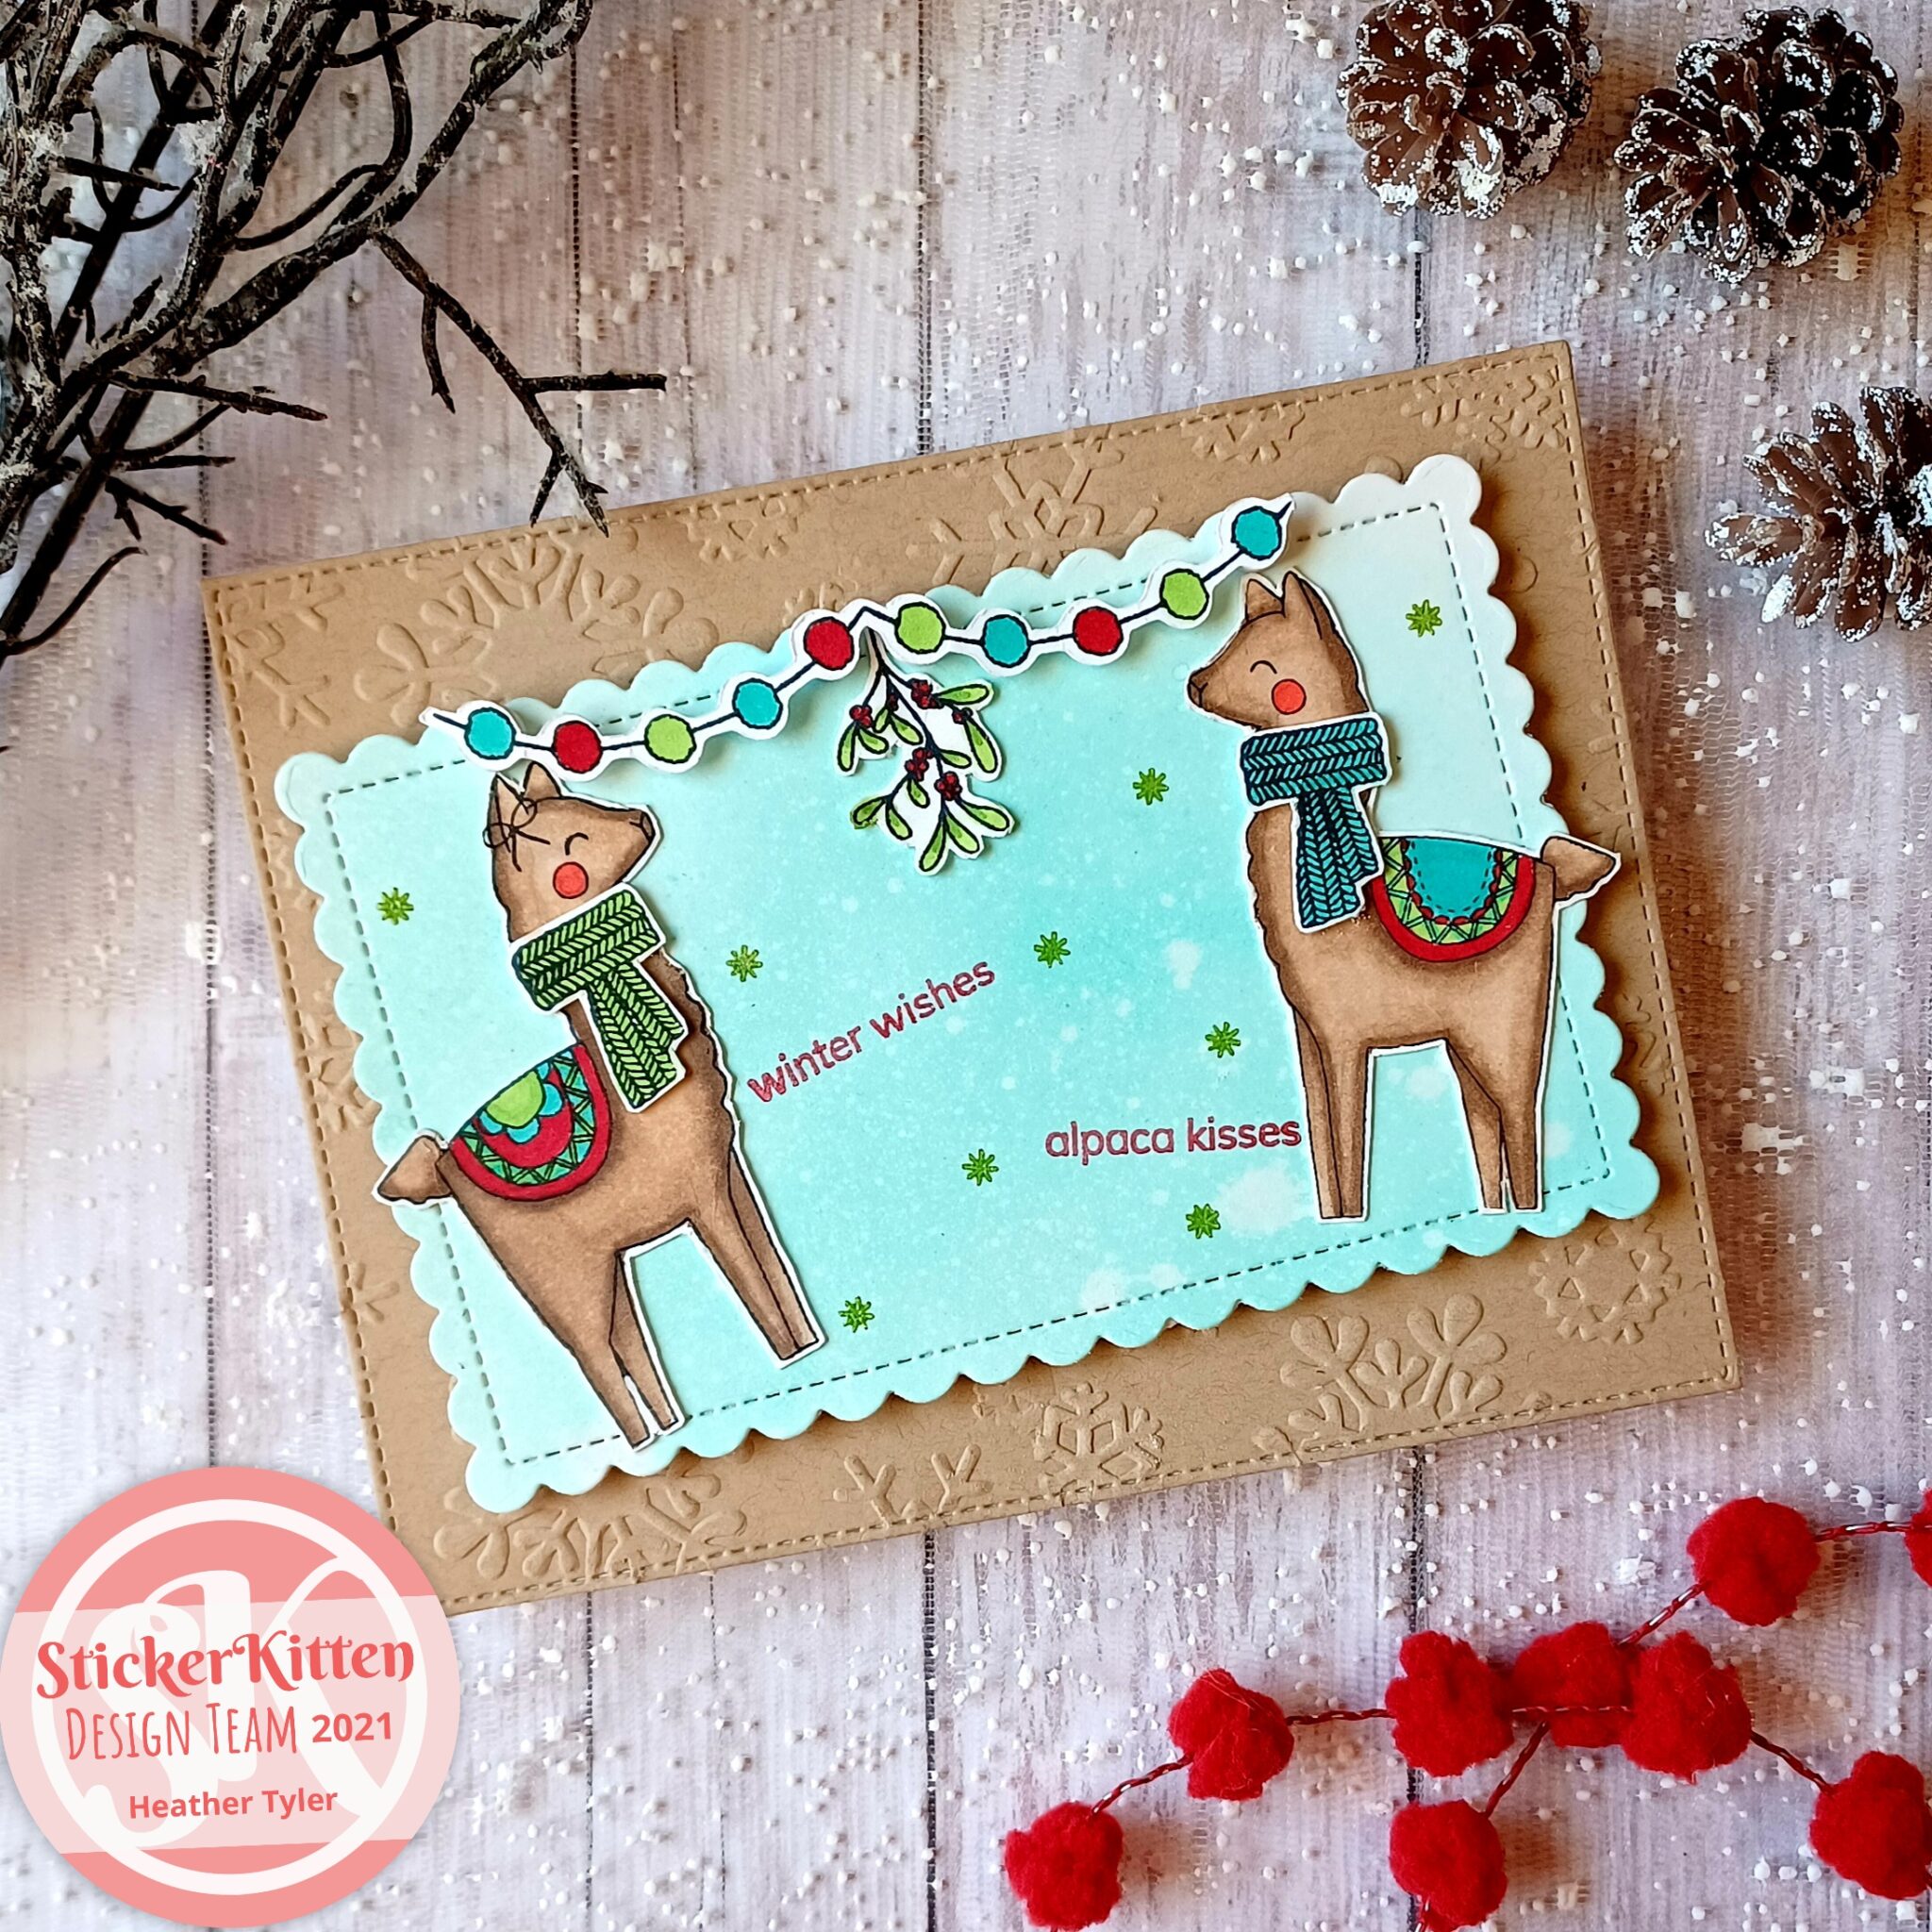
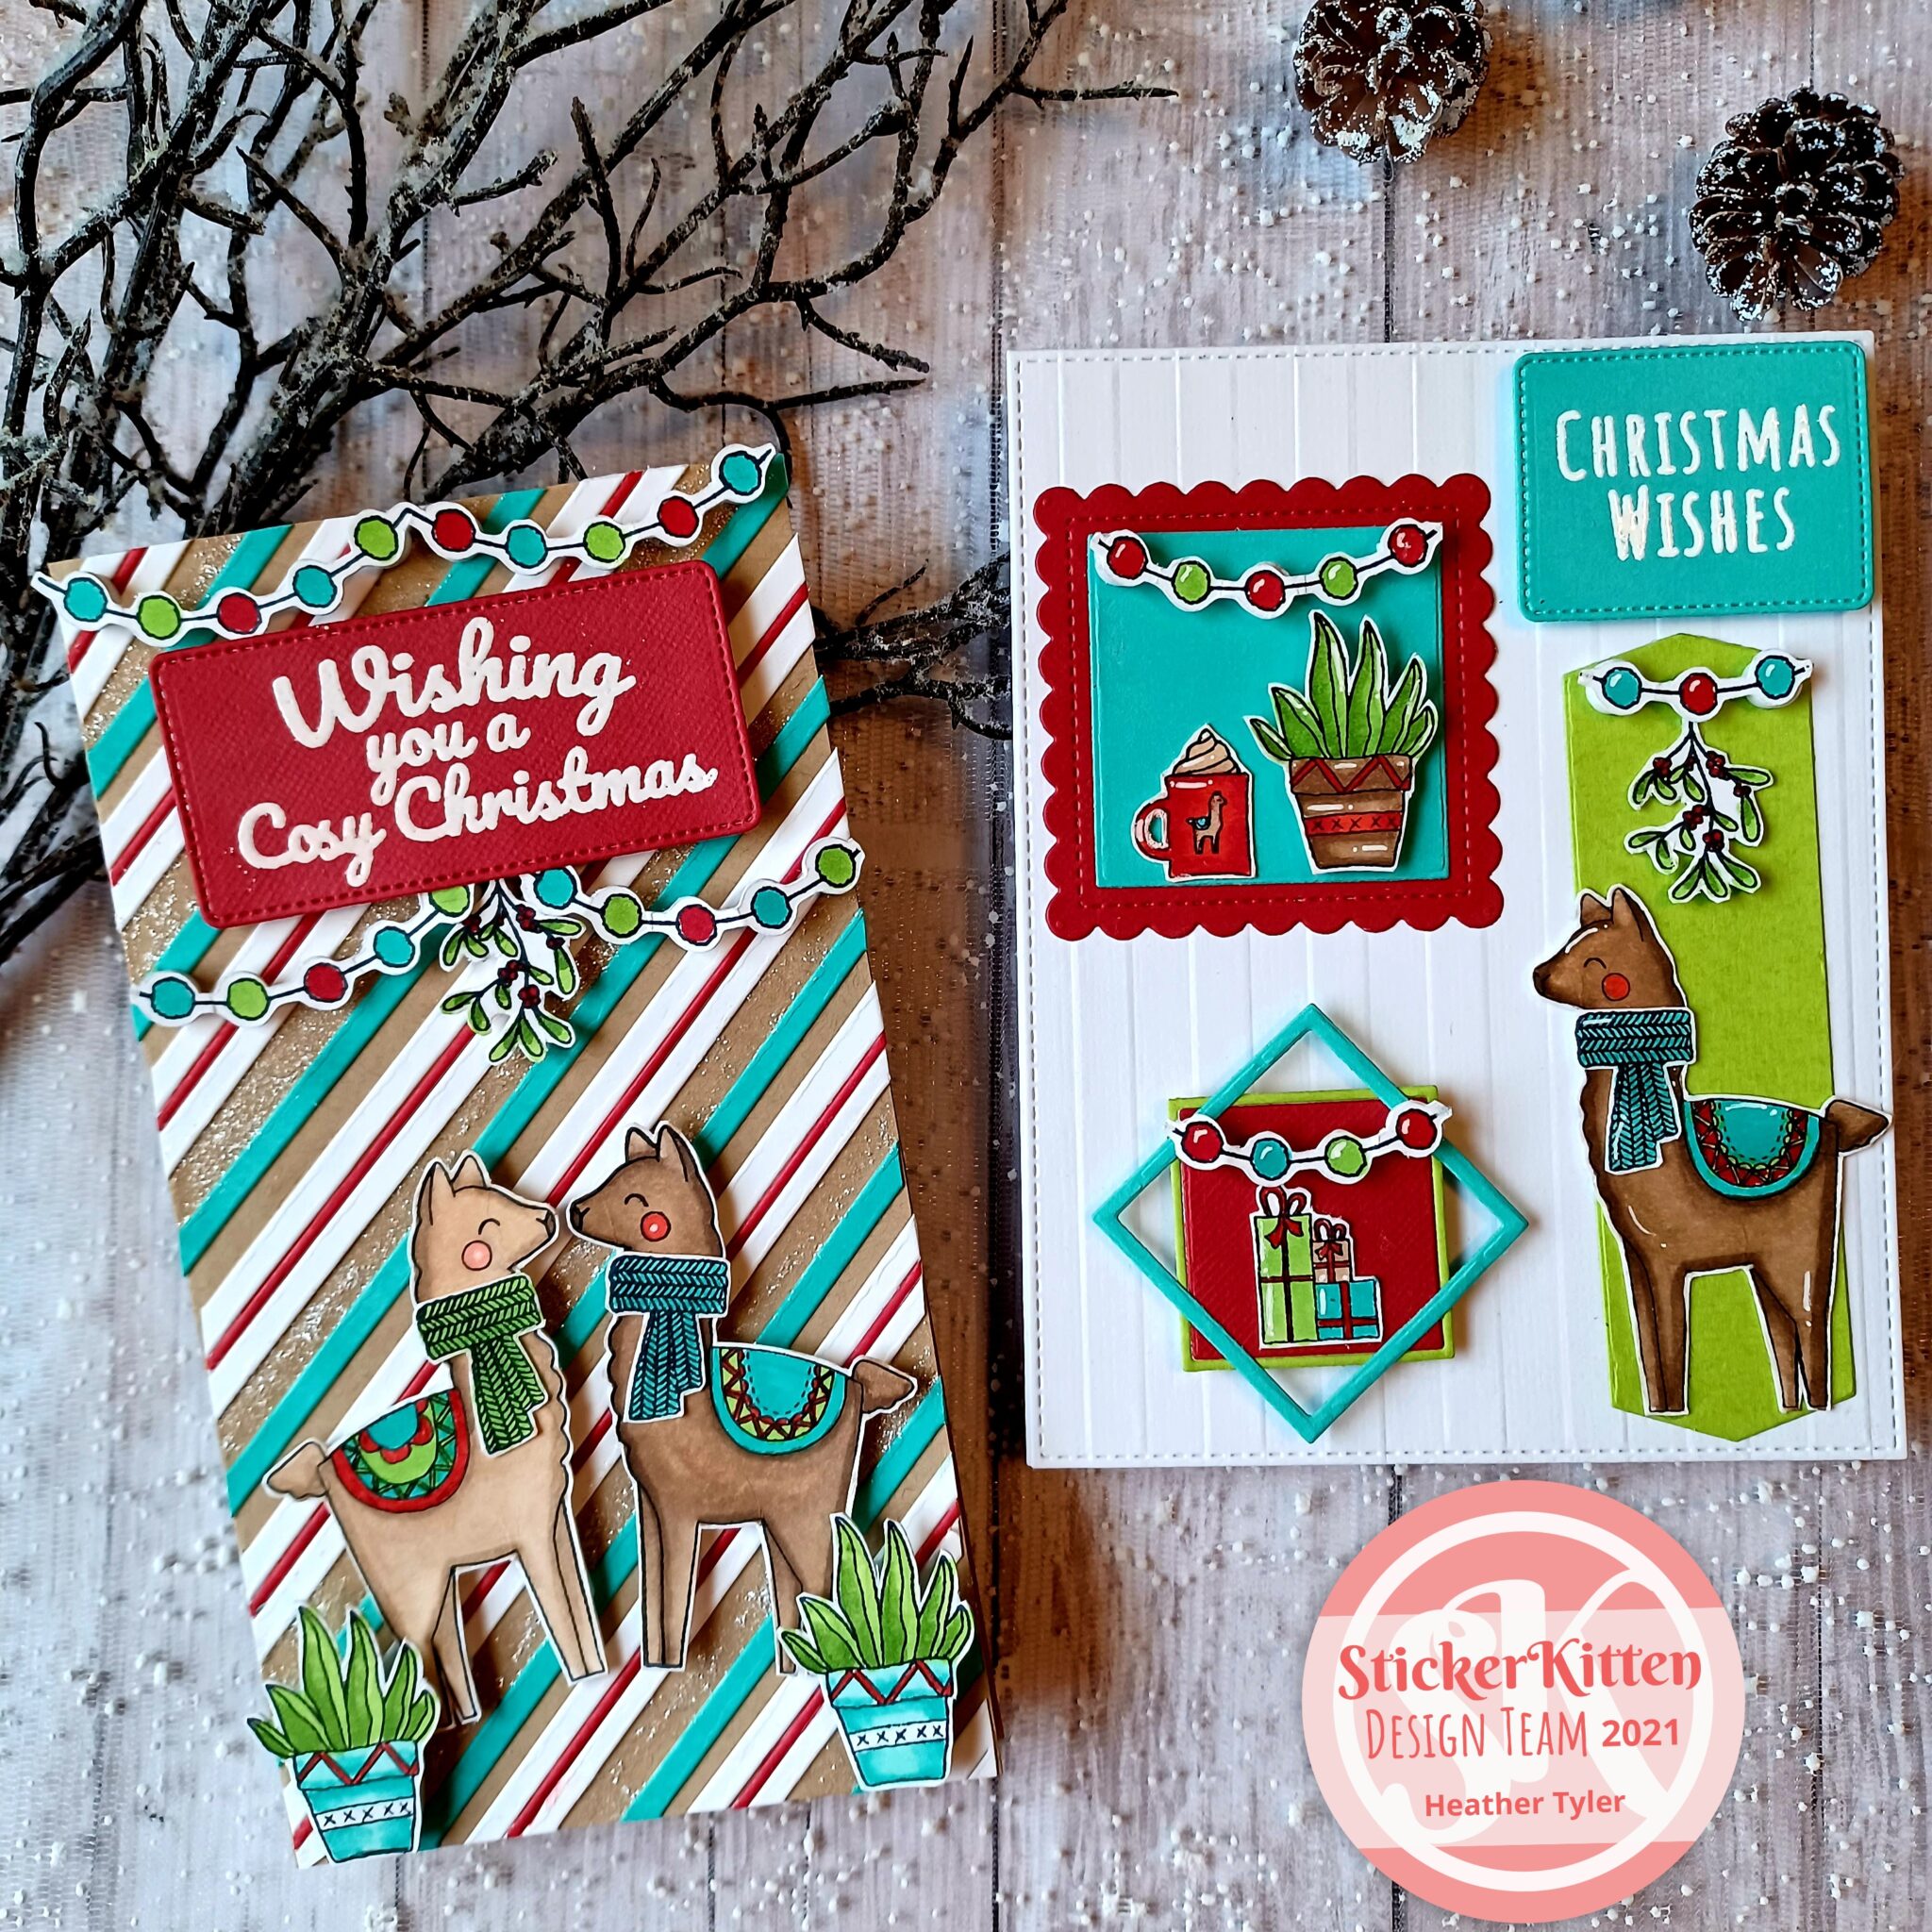
Make sure you make swatches of your colors and play with the colors so you can learn which colors work well together and which colors require a little more effort to blend. Depending on what your preference is you may color light to dark or dark to light. The alpacas below, I started out coloring my lightest color all over, then I used my darkest color to color in the areas that I thought where the shadows are, then continued with the next darkest color on down. The reason I started out with the lightest color is that I feel it personally blends better with some ink already on the paper.
I am still learning how to gain more detail in my coloring, creating texture, and interest. There are so many detailed tutorials online that you can use for free. Take in person classes and online classes, you will only get better!
The stamp set, Alpaca Wishes from Sticker Kitten is what I used to make the cards.
Heather Tyler/Qtee Card Designs