 Colouring stamped images overviewJuly 21, 2022 |
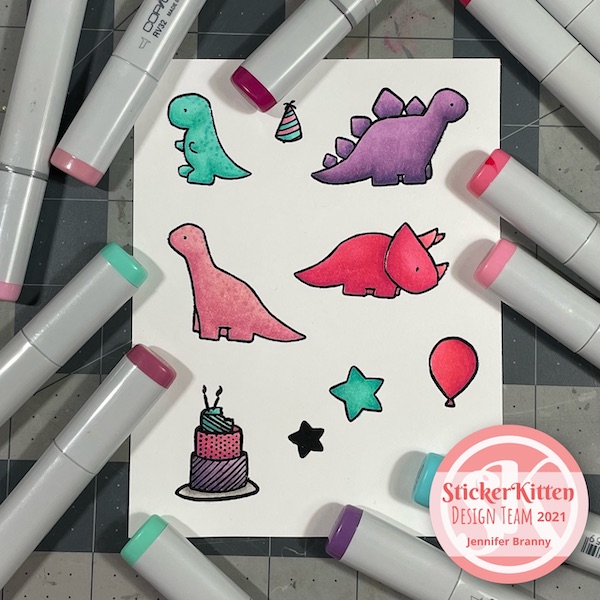
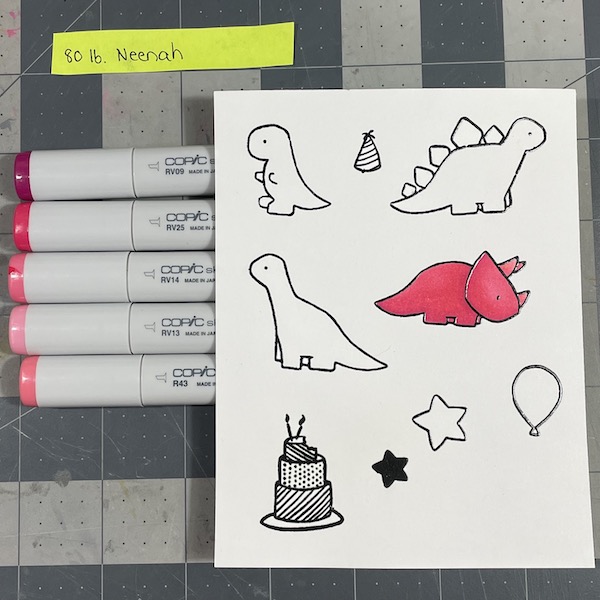
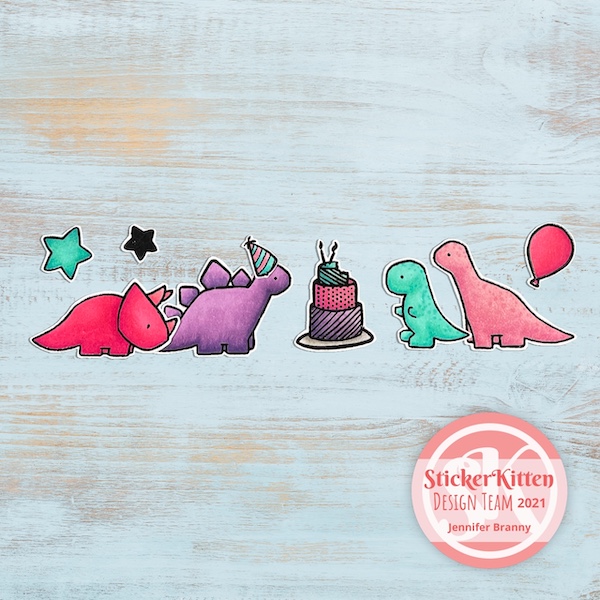
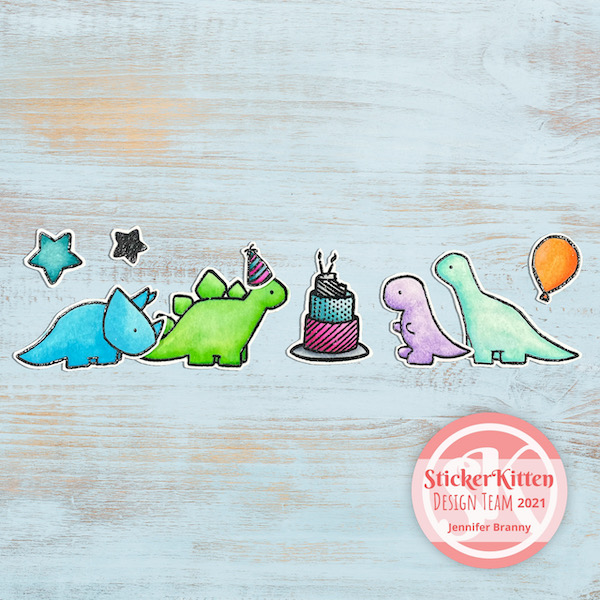
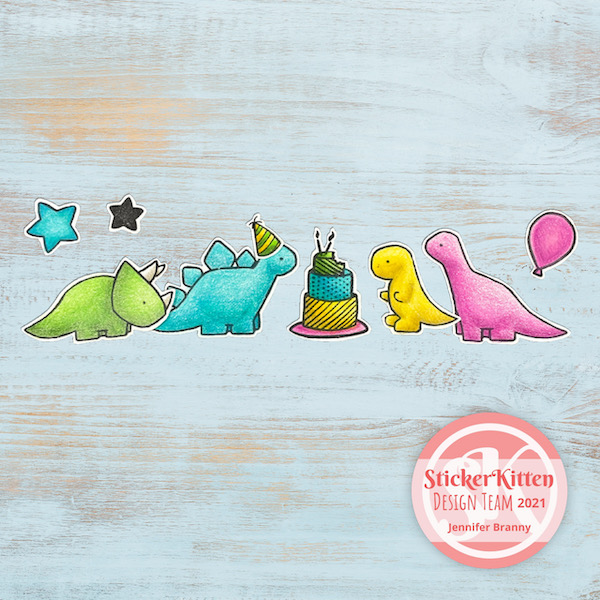
In this overview, I’ll be using the adorable Birthday Dinos stamp set from StickerKitten to show examples of the different mediums and techniques mentioned in this blog post.
Jumping into the crafty world may seem like a daunting task with all the different materials, ideas, and mediums available to us as crafters. As stampers and card makers specifically, we still have so many options available to us when starting out, especially when it comes to coloring supplies.
In this post, I’m going to focus on several of those supplies most popular in our crafty community and I’ll also provide a quick overview including popular brands, card stock type, and inks to use with each.
Things like alcohol markers, watercolors, and colored pencils seem to be the most used items for coloring in stamped images.
Each include different techniques for laying down color, blending, and creating texture resulting in different looking outcomes.
Most mediums involve building up intensity and depth by working in layers.
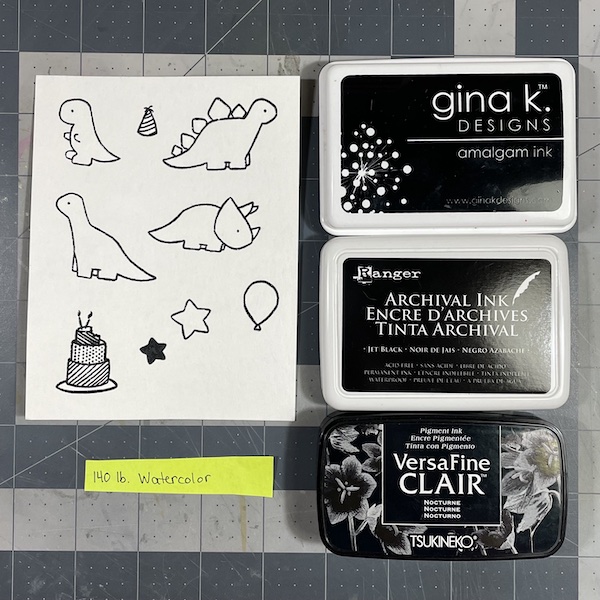
Before getting started with any supply, it’s always a good idea to swatch out your different mediums on the paper or card stock you intend to craft with.
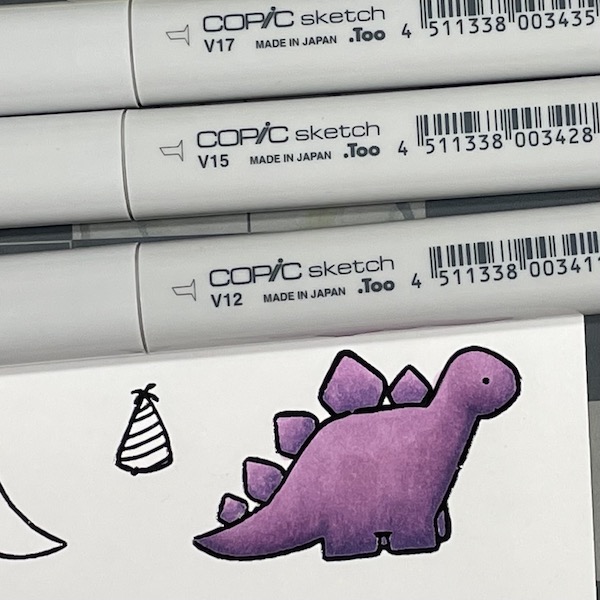
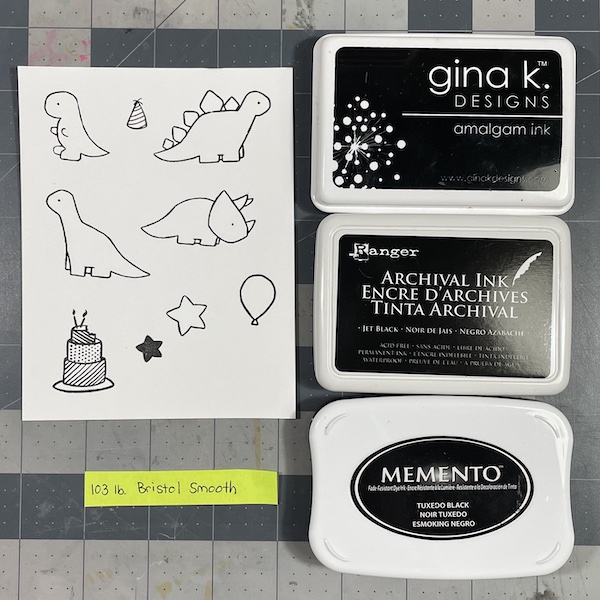
Alcohol Markers (Bullet or Brush Nib)
Type: Copic, Spectrum Noir, Ohuhu, Blick Studio Brush Markers
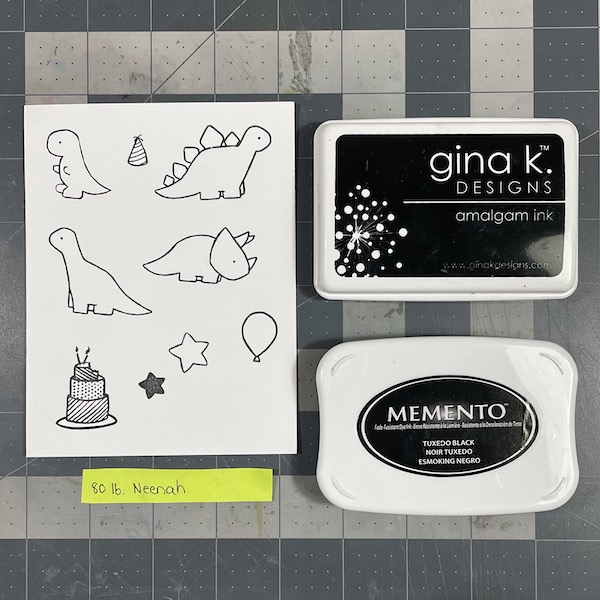
Inks: dye or hybrid (Memento, Gina K. Amalgam Ink, Lawn Fawn Jet Black)
Cardstock: smooth (Neenah)
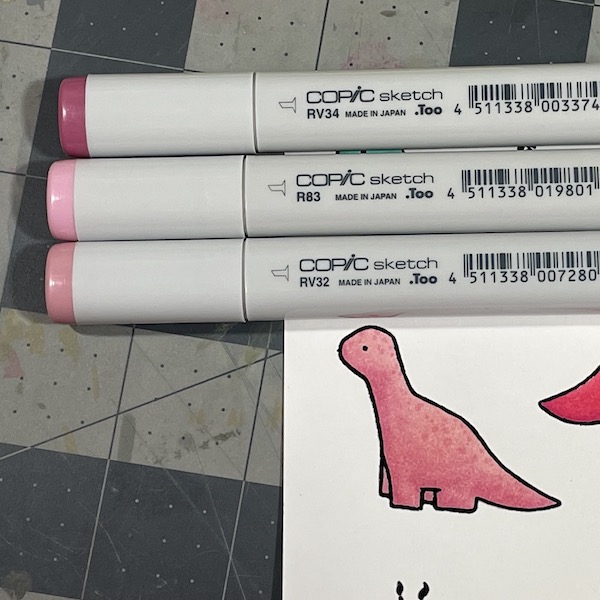
Alcohol markers are a nice way to get a smooth blend when coloring images. The most popular markers are Copic, coming in at a higher price point than most, but other alternatives include Arteza, Spectrum Noir, and Ohuhu. You can find both bullet and brush nibs available for each of the brands listed.
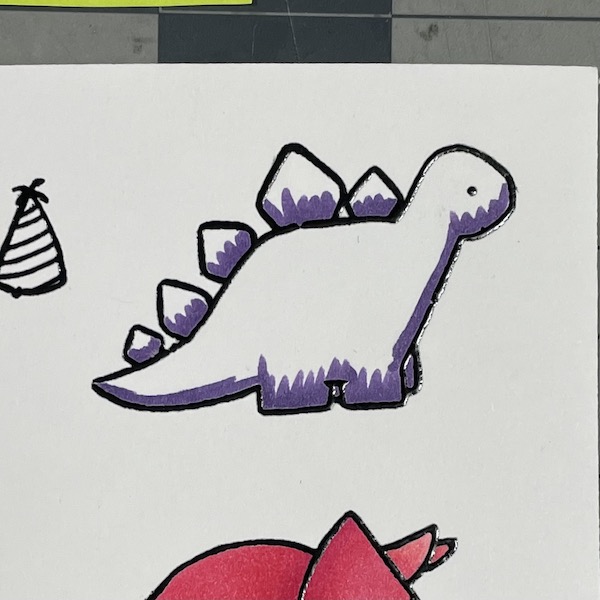
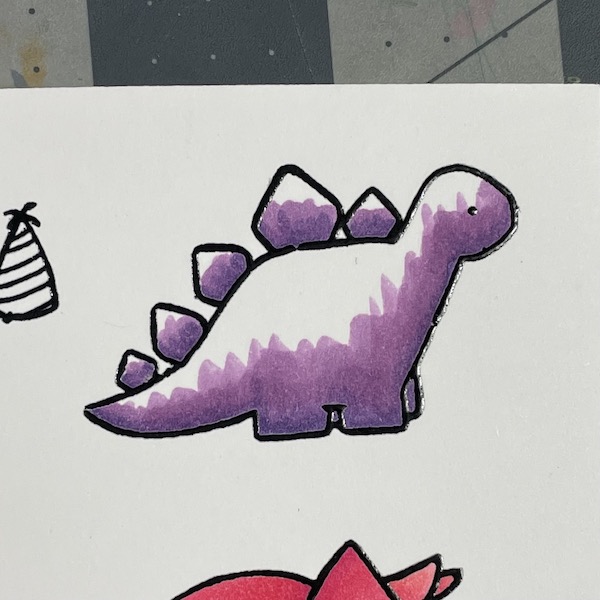
I found that the best way for me to color is by starting with a base layer of the lightest color, then adding your midtone, then going in with your darkest. You can blend in between them using different techniques to lay down color like the flicking technique.
In order to do this, you start by using a slight bit of pressure with the tip of your marker to lay down a stroke of color and then lifting the marker in a flicking motion. This technique allows for easier blending because the color will remain lighter where the marker left the paper last, as well as breaking up a a solid area of color, leaving small gaps, which will also allow for easier blending. Doing this also helps avoid over saturating the card stock, which can lead to your colors bleeding.
Watercolor (Pans)
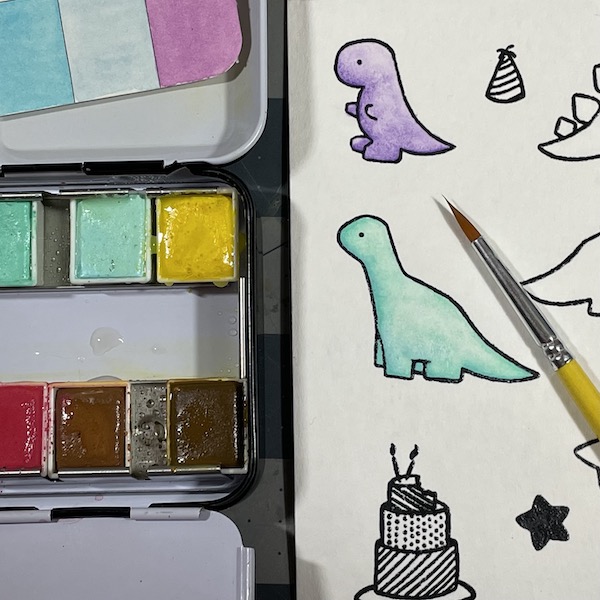
Brands: Gansai Tambi, Prima, Windsor & Newton, Arteza
Inks: pigment, hybrid (Versafine, Versafine Clair, Ranger Archival Ink)
Cardstock: watercolor (canson, strathmore, arches)
Brushmarkers
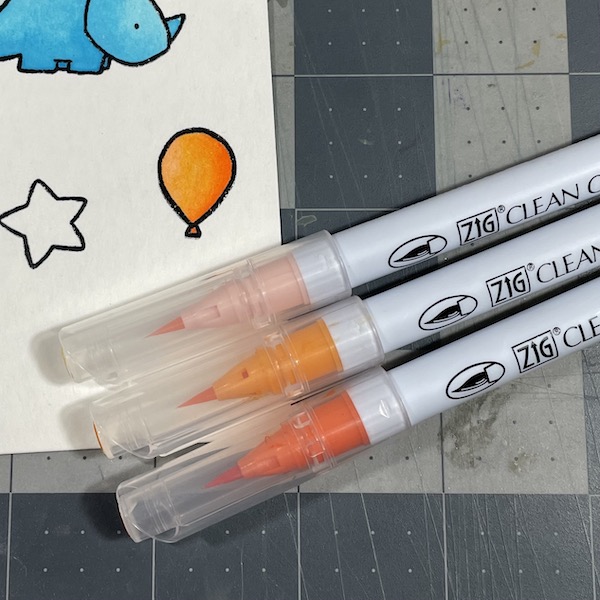
Brands: Zig, Arteza, Karin Brushmarkers
Inks: pigment, hybrid
Cardstock: Bristol, watercolor
Watercolor pencils
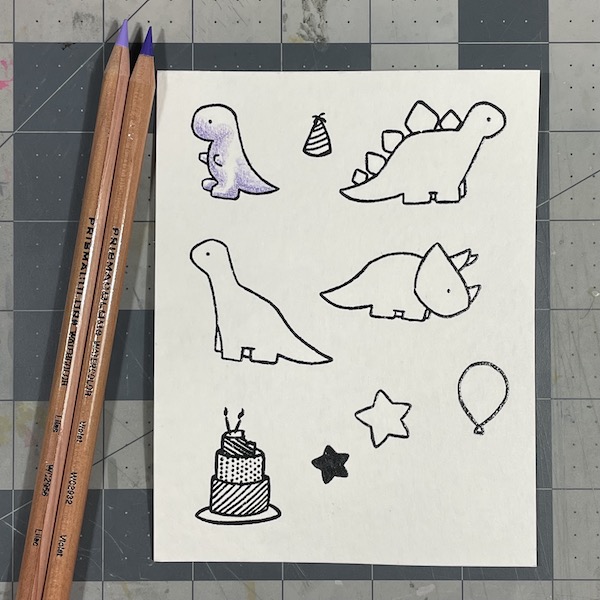
Brands: Derwent, Prismacolor
Inks: pigment, hybrid
Cardstock: watercolor
Watercolor is another great way to add color to stamped images. You have plenty of options ranging from popular pan sets from companies like Prima to watercolor brush markers and pencils. Just by adding different amounts of water, you can create colors that blend and layer, resulting in a wide range from transparent to opaque.
There are a wide variety of watercolor papers that come in many different weights and colors. Depending on the type of watercolor medium you use, paper can play a large role in your result. Pan sets and regular watercolor cardstock go very well together, with the heavier weights allowing more time to blend. However, things like brush markers behave a little differently than traditional watercolors and for those it seems Bristol smooth cardstock is what is generally recommended. A fun benefit of the brushmarkers is that you can achieve very vibrant results by blending using other markers directly as opposed to water, so the pigment is not diluted.
Watercolor pencils, as the name may suggest, are a bit of a hybrid. You can add the color onto watercolor paper one color at a time, or several at once, using the pencils. Then by adding water to a brush, you can drag the color out across your image. I find this way allows for a more controlled watercolor process because you have already decided the intensity of the color beforehand depending on how much you added using the pencil, as well as where exactly each color will go. You also have more time to think about things because once you place the color down, you don’t have to add water right away.
Colored Pencils
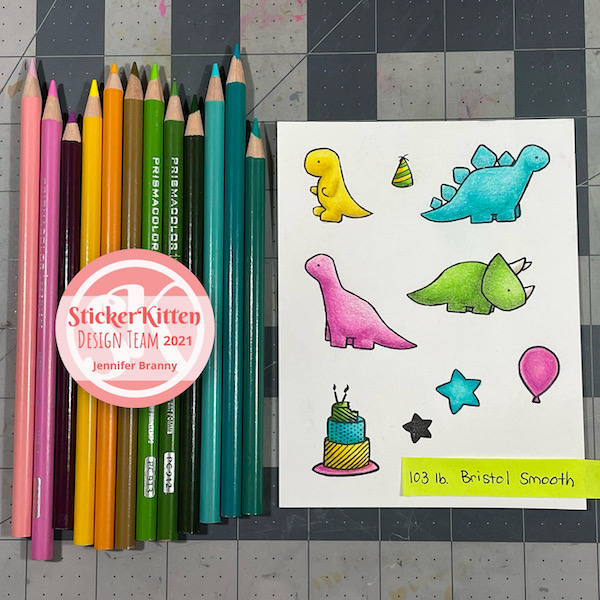
Brands: Prismacolor, Faber-Castell Polychromos, Derwent Inktense
Inks: pigment, dye, hybrid
Cardstock: smooth (Bristol, Neenah)
The next medium I’m going to go over is probably one of the most popular amongst crafters: colored pencils. Before I ever even knew what alcohol markers were, colored pencils were my go to coloring utensil. In the crafty world, it seems brands like Prismacolor and Polychromos are the most popular. Prismacolor colored pencils are made up of a soft wax core that provide a smooth application of color that also allows for easy blending. Polychromos are made up of slightly harder, lightfast oil based pigment, also resulting in fantastic blending.
Card stock is useful when using colored pencils in order to achieve a good result. Because layering is the best way to achieve a good blend, a smooth cardstock like Neenah Classic Crest or Bristol Smooth, allows for chalky smooth application of color.
Still, with any colored pencil on cardstock, results can seem a bit grainy due to the nature of the pigment on the tooth of the cardstock. If you prefer a smoother look, it is important to work in light layers and keep your pencils sharp. But another option is to go over your coloring with gamsol and a blending stump. Gamsol is an odorless mineral spirit that is useful in melting the pigments and removing some of the “static” look.
Alternatives for gamsol include baby oil, rubbing alcohol, Vaseline, Prismacolor blending marker/pencil, Zest-It, and a Copic colorless blender.
Using colored pencils in combination with other coloring mediums is also a great way to add details to your colored images. Adding colored pencil to your alcohol marker and watercolored images can create awesome textures and vibrant highlights.
Colored Inks
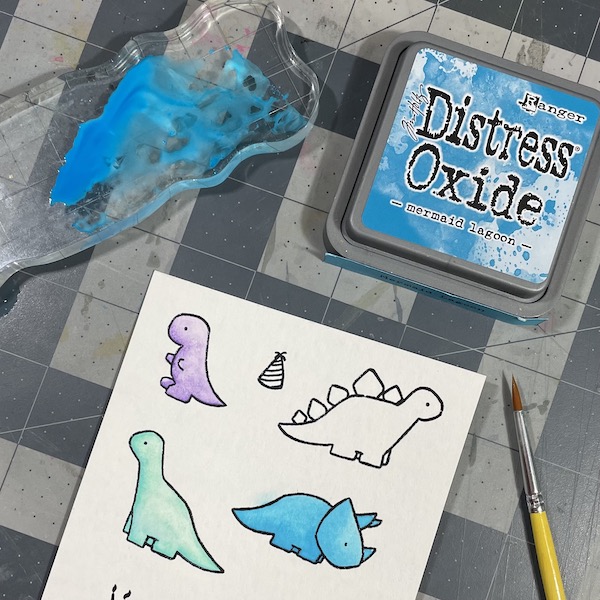
Brands: Distress, Distress Oxide, Memento, Dr. Ph. Martin’s
Inks: pigment, dye, hybrid
Cardstock: dependent on technique
Do you have a set of Distress inks or maybe some other set of colored ink pads?
Colored inks have endless possibilities from coloring images to creating awesome backgrounds.
Ink smooshing is a fun way to get multiple uses from your ink pads. By squishing your colors onto a nonstick surface (glass craft mat, acrylic block, silicone mat) you can create a custom palette of watercolors. Just pull out a paint brush and some watercolor paper and color in your images just like you would with other watercolors.
You can use the leftovers and a piece of acetate to smoosh the color onto a piece of cardstock or just lay your cardstock right on top to get some fun colorful backgrounds.
You can also pick up the colors with a large or small brush to get some random splatters in all kinds of colors.
You can create an ink blended background using foam blending tools or blending brushes as well. By stamping your images and creating masks with sticky notes, you can create a vibrant background with your inks. Then when you remove the masks to reveal your black and white images, you can add color or leave them to really stand out against the background!
All these techniques can be used with any card stock really, but for ink blending, I’d suggest Bristol smooth, and when watercoloring with your inks, I’d use watercolor paper. For backgrounds and splatter, it depends if you want the color to continue moving or stay in place, but it’s totally up to you which works best for your project.
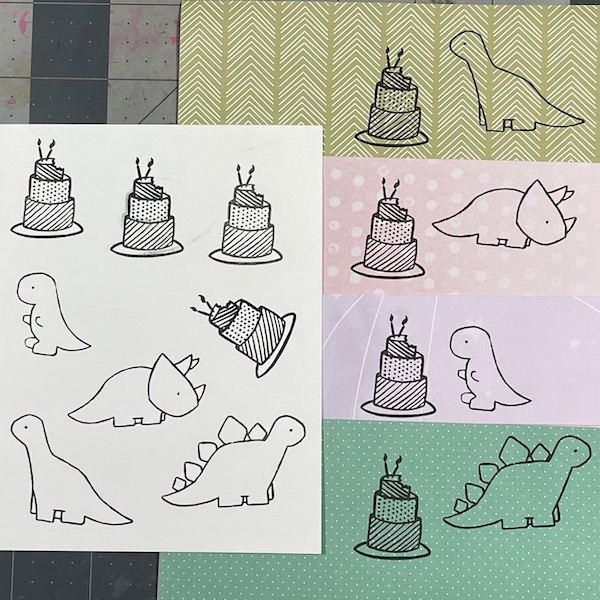
Paper Piecing
Brands: any
Inks: any
Cardstock: any type, pattern, or color
Paper piecing is a quicker way to add lots of color, texture, or patterns to your stamped images.
To start, stamp your images out onto a piece of white cardstock (or any other color you want to be your base color).
Then, pull out some patterned or solid color cardstock and stamp out the same images again onto the other cardstock.
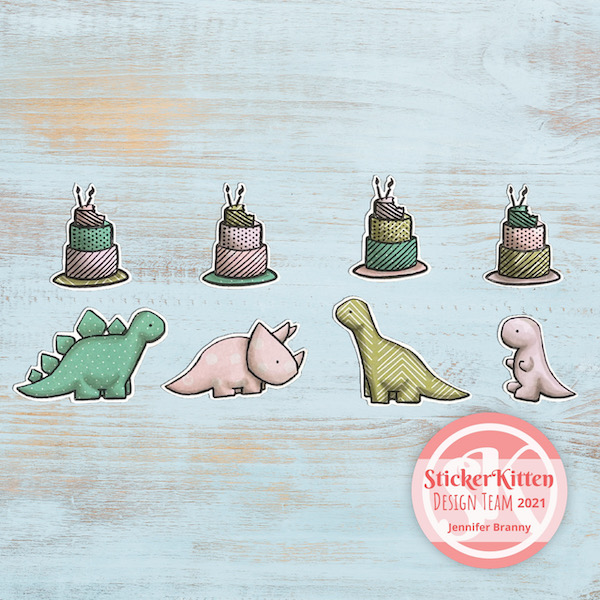
Fussy cut bits and pieces from from your patterned or colored cardstock and glue them down onto your base piece.
Once you’ve added all the elements that you’d like, cut out your base piece and use it on your project like you would any other colored image.
Alcohol markers and colored pencils are a great way to add extra details like textures, highlights, and shadows, to your paper pieced images.
I hope you enjoyed this brief overview of some of the different ways to color stamped images!