 Using stamps for mixed mediaJuly 28, 2022 |
Stamping is a super fun way to create personalized handmade cards.
Not only can you use your stamp sets for specific events and occasions, but a lot of stamps can be altered to extend their use as well.
For example, a Christmas set with images of critters and candy can be used to create a cute winter birthday scene. You can also use many elements from a Valentine’s set to create a sweet Mother’s Day card.
Just by switching up your color scheme and sentiment, you can bring a whole new life to your stamps.
The same way you can switch up your stamps for different occasions, can also be applied to creating projects outside of card making.
By bringing in different types of ink and a few different materials (most likely things we as crafters already have in our stash) the possibilities to create using stamps are endless.
Here are some examples of different ways to use your stamps:
Home Decor
Scrapbooking Layouts
Journal Entries
Planner Layouts
Ornaments
On Fabric
Jewelry/Charms
Party Decor
Embellishments
Stickers
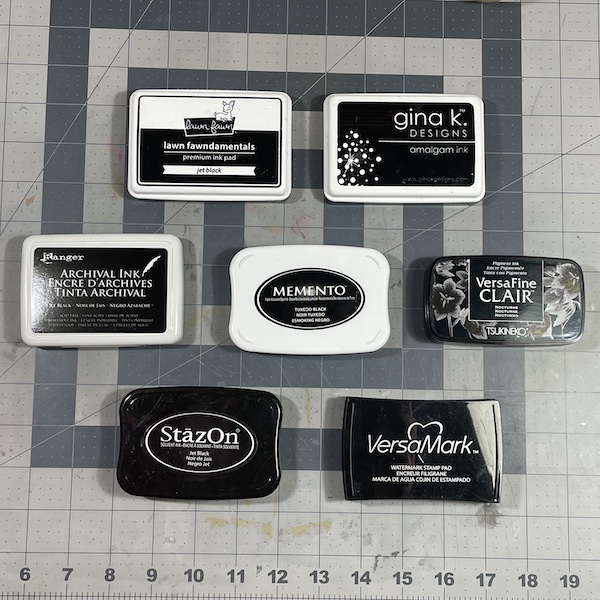
Once you determine the supplies you want to use, ink is the next step to getting started. Solvent, pigment, archival, dye and waterproof inks pretty much cover all the bases for any multi media project.
DIY charms are as easy as stamping onto shrink plastic with StazOn ink, punching a hole at the top, adding color, fussy cutting your image, and shrinking it in the oven.
Once done, you can add a jump ring to create your very own charms.
Creating custom tote bags or dish towels can be achieved by stamping with a permanent archival ink.
Stamping on wood is also a fun way to create home decor and personalized ornaments, which is what I’ll be sharing in this blog post today.
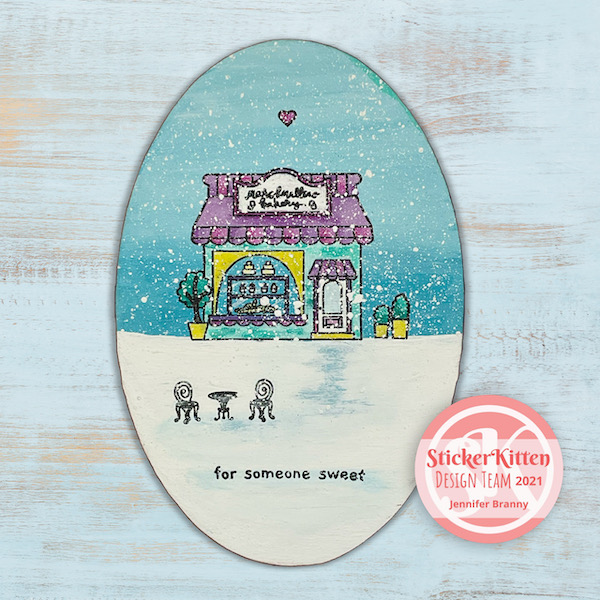
I’m going to create a custom wooden magnet using the super cute Sticker Kitten stamp set called Sweet Shop.
First, I’m laid out a scene using my stamps that fit onto my wood slice.
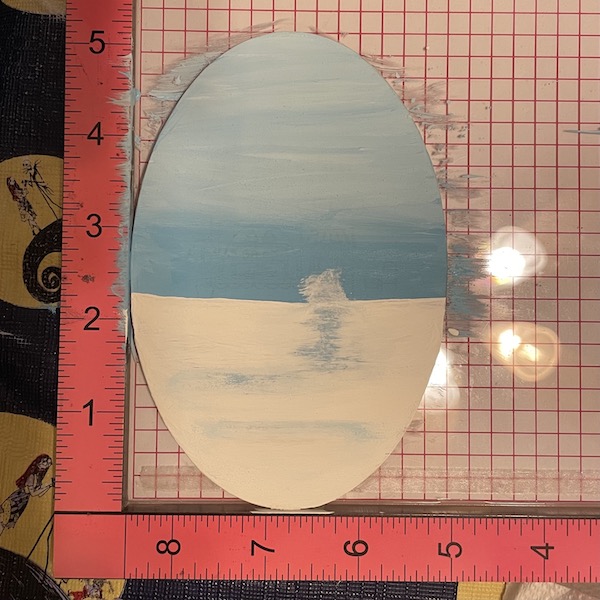
To color my wood shape, I used acrylic paints, so once I decided on the images I wanted to use, I painted on my background before stamping. I wanted to add my background first so I had a nice even layer to stamp on.
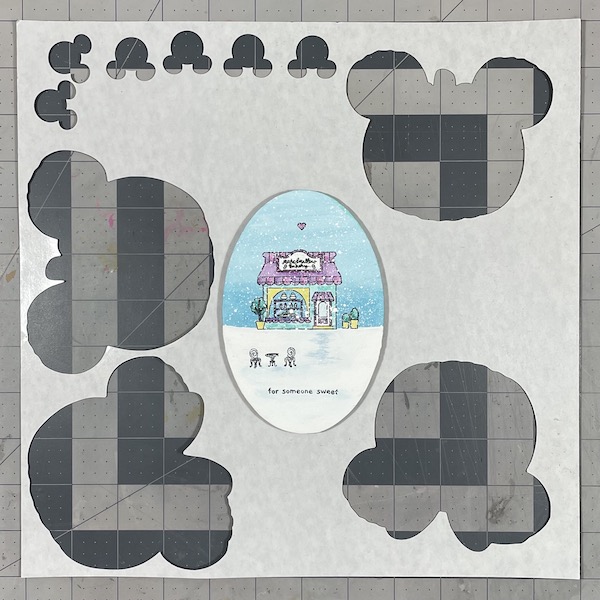
Once my background was finished and completely dry, I added my wood shape to my stamping platform and held it in place with some double sided tape. Then I stamped my scene and sentiment onto the wood slice using Versafine Clair black ink.
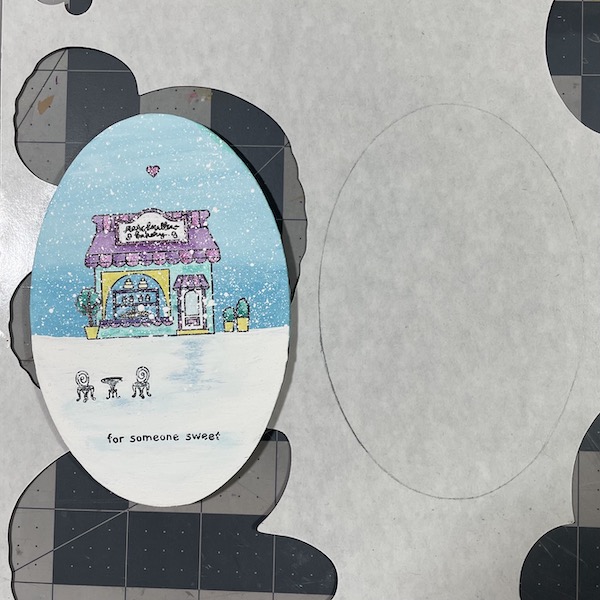
Using acrylic paints, I colored in my stamped images while my wood slice was still held in place in my stamping platform. I did that so once I finished painting I could restamp the images on top.
To finish off my sweet winter scene, I added some white splatter to give the look of snow.
Next, to turn my wood shape into a magnet, I grabbed some of my scrap magnet sheet and traced my shape onto it. Then I trimmed it out and added it to the back of my shape.
And that finishes off my custom wood shape magnet using the adorable Sweet Shop stamp set!