Welcome to the third in a series blog posts that will teach you how to stamp! You can find the first post – How To Use Photopolymer Stamps In 6 Easy Steps – here and the second post – 8 Common Mistakes When Stamping – here! This post will take you through creating your first stamped greetings card.
I’ll preface the tutorial with this; I really don’t believe there is a wrong way to make a card. This is just here to help you get started.
I’m using StickerKitten’s Bird Garden stamp set for this card but I’ll also include a couple of samples at the end using different stamp sets. I will be using 4 dye ink cubes in an autumnal colour palette. I’ve arranged the colours from light to dark. As we’ll be creating a UK A6 card we’ll need an A5 sheet of white cardstock scored down the middle to create our card base. I prefer to stamp on an unfolded card base. We’ll fold it along the score line later on.

Step 1
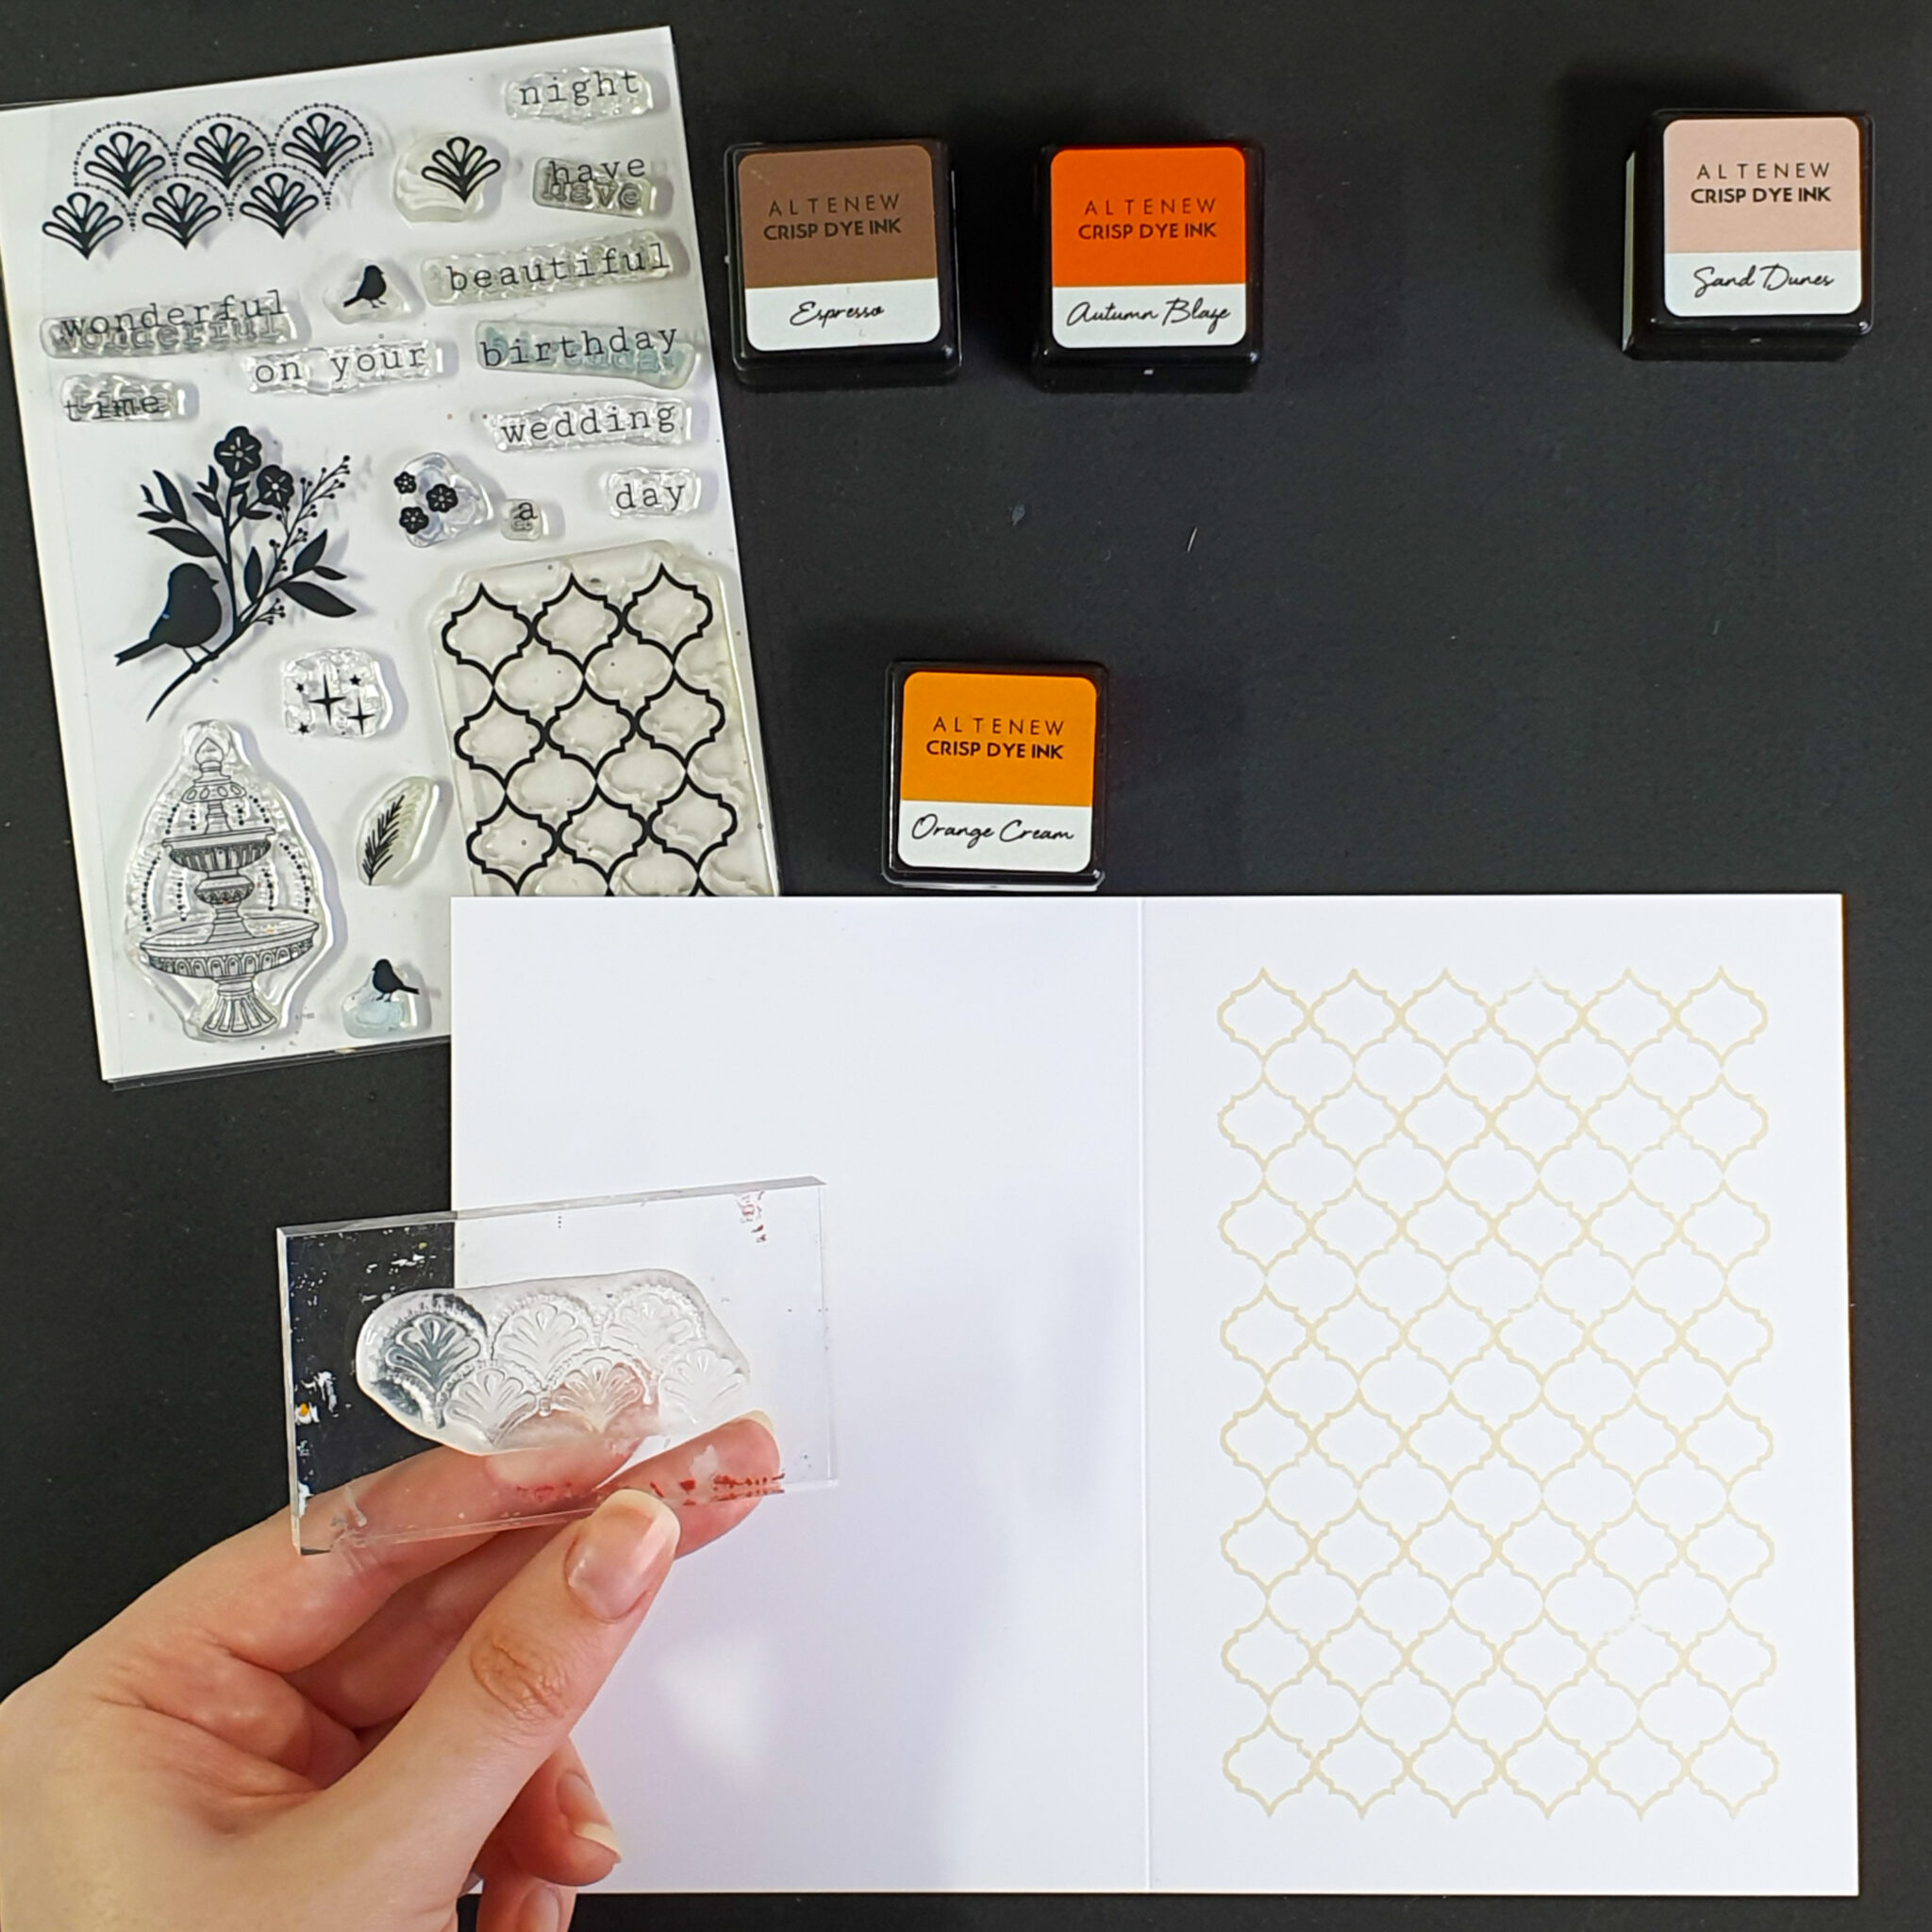
Apply the Moroccan style tile background stamp to the acrylic block. As this is a larger stamp check there are no air bubbles trapped under the stamp when you apply it to the block. If you see any either remove and reapply the stamp or use your fingertips to guide the air bubble out to the edge so it can escape. Add the lightest ink colour to the tile stamp and stamp in the top left quadrant of the card front. Then repeat a further three times to build up the background. It’s fairly easy to see through the stamp to line up the repeat. Bear in mind it doesn’t need to be perfectly aligned – it is a handmade card. This isn’t going to be a main feature on the card which is why we are using a pale ink. This is just the first layer of interest in the background.
Step 2
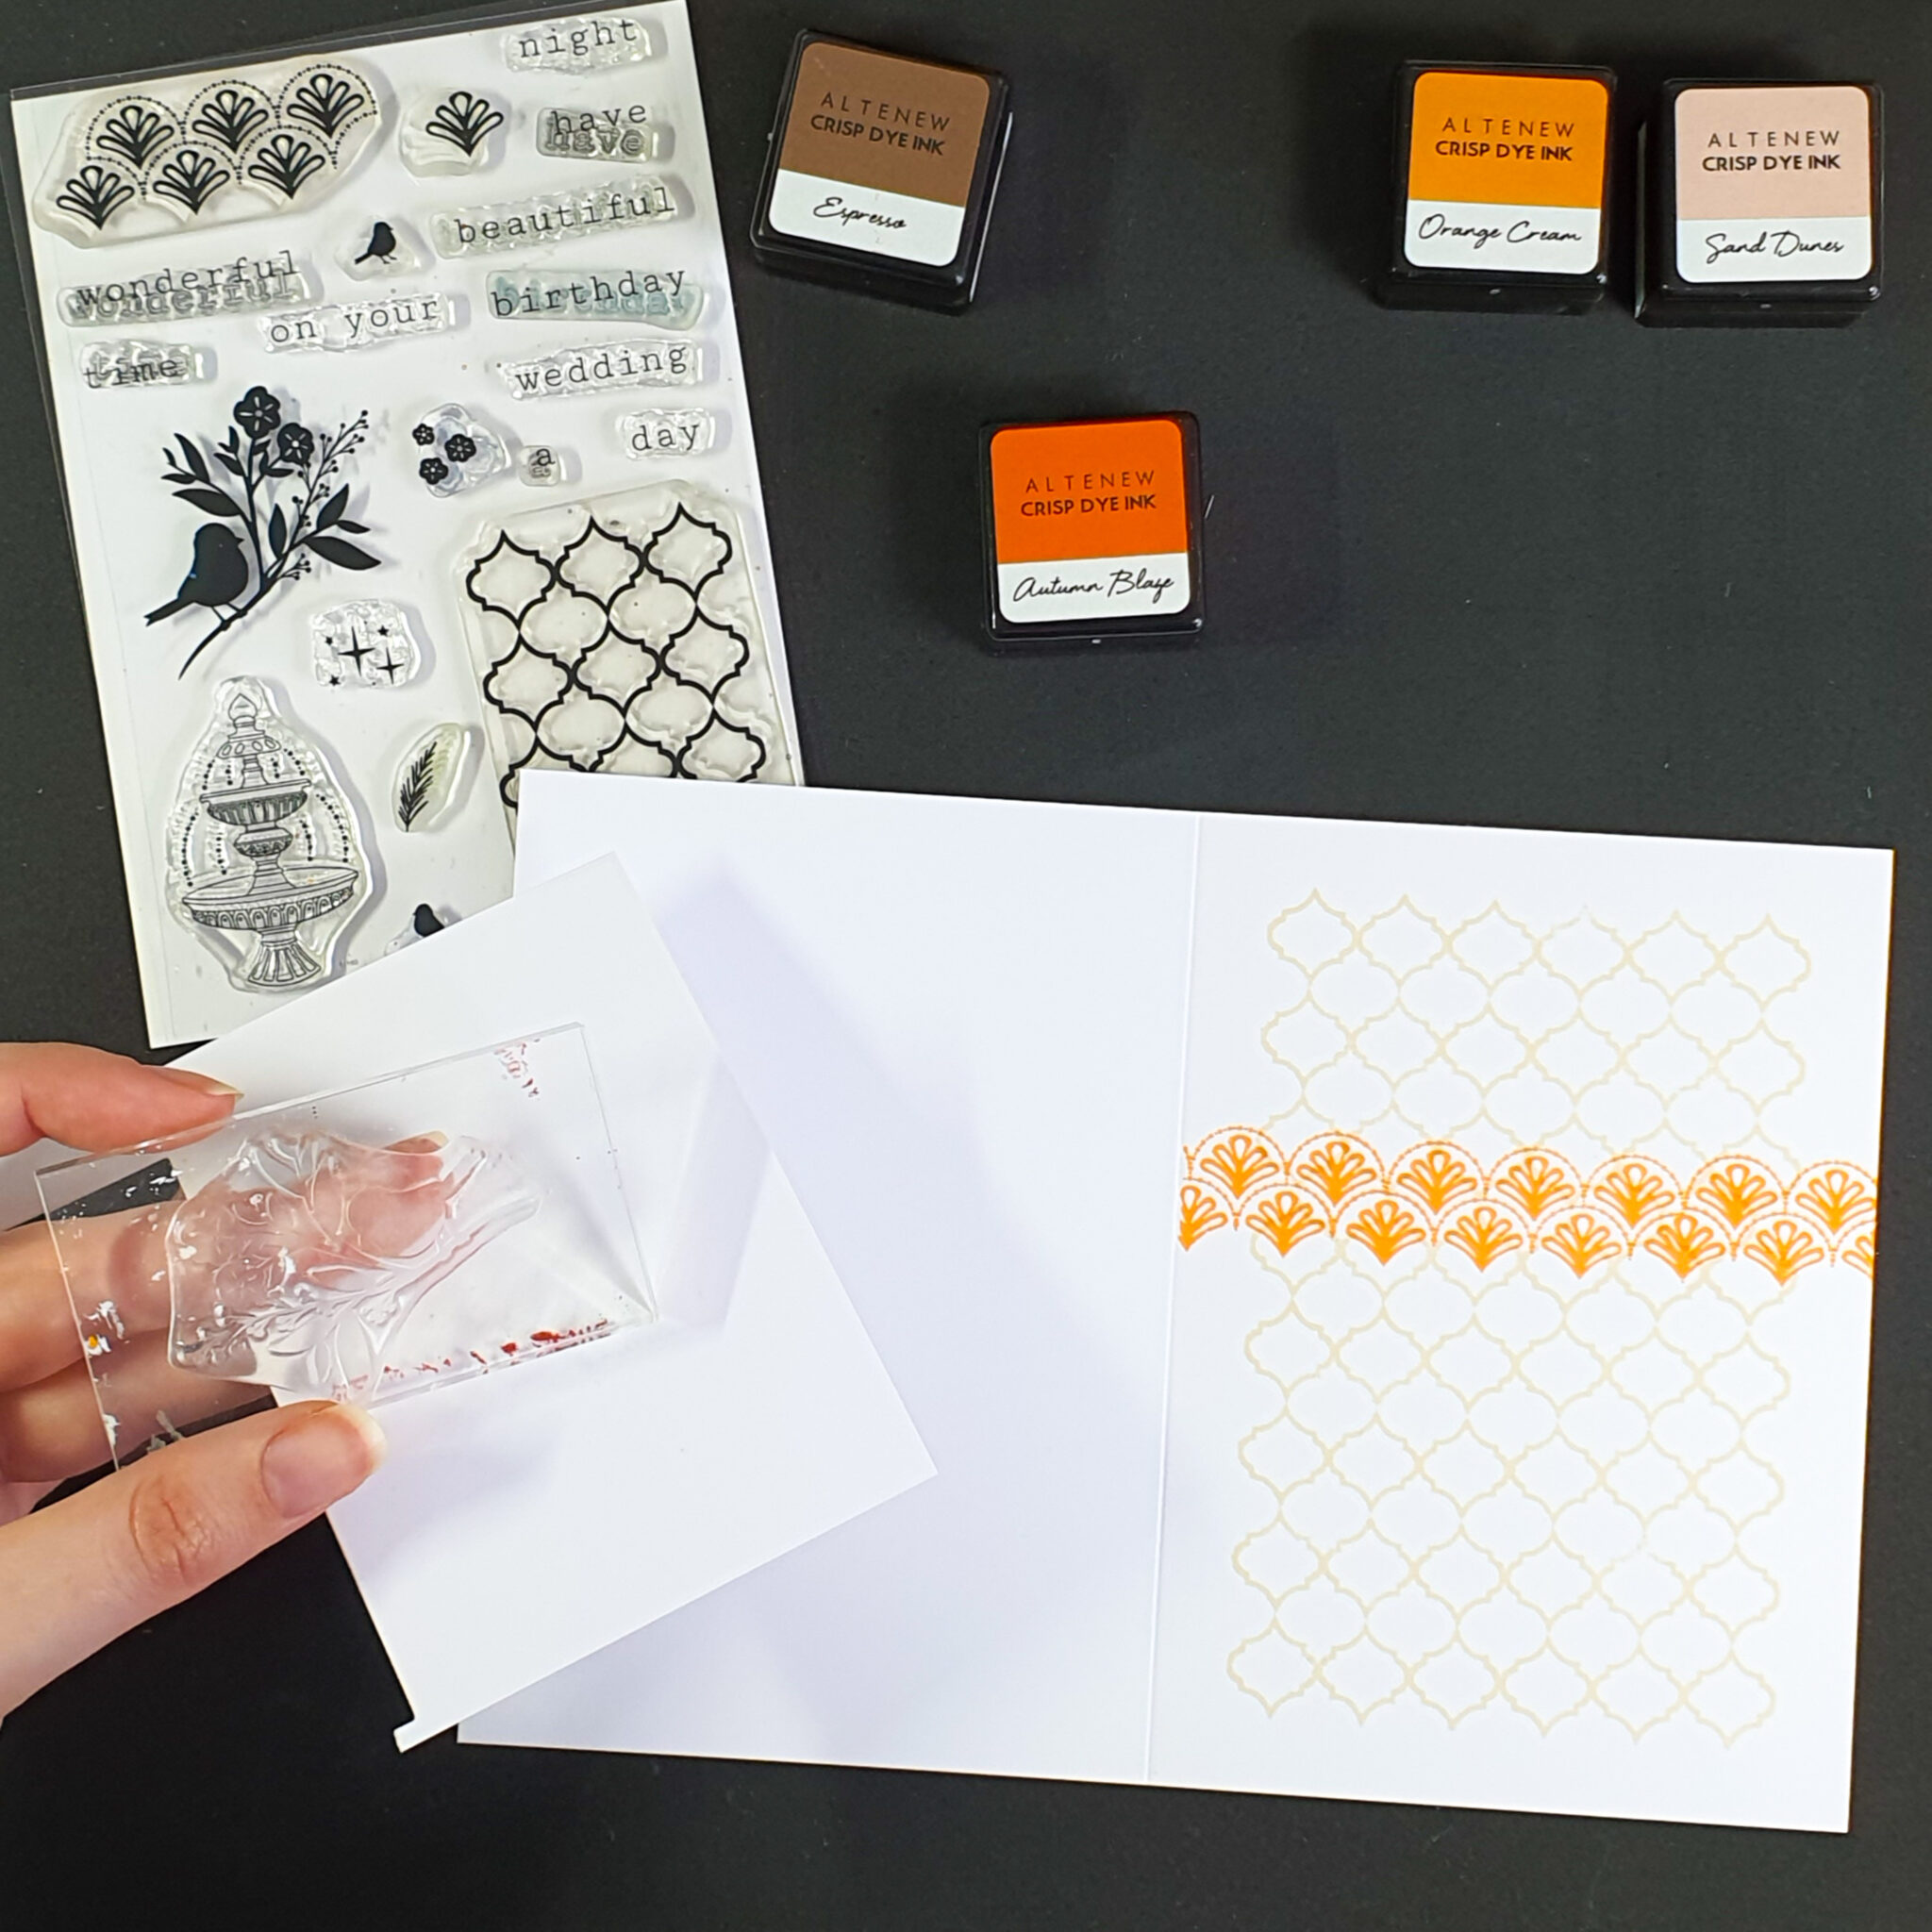
Next take the Art Deco style fan pattern stamp and apply it to the acrylic block. Ink it up with the second lightest ink and add a stripe of pattern across the card. I aimed for about a third of the card above and two thirds below but it doesn’t need to be exact. You can add a light pencil line if you want help to ensure the stamping is straight. You can mask off the wrong side of the score line with a post it note or a piece of scrap notepaper. It took three impressions of the stamp to complete the line across the card front again looking through the stamp to line the pattern up.
Step 3
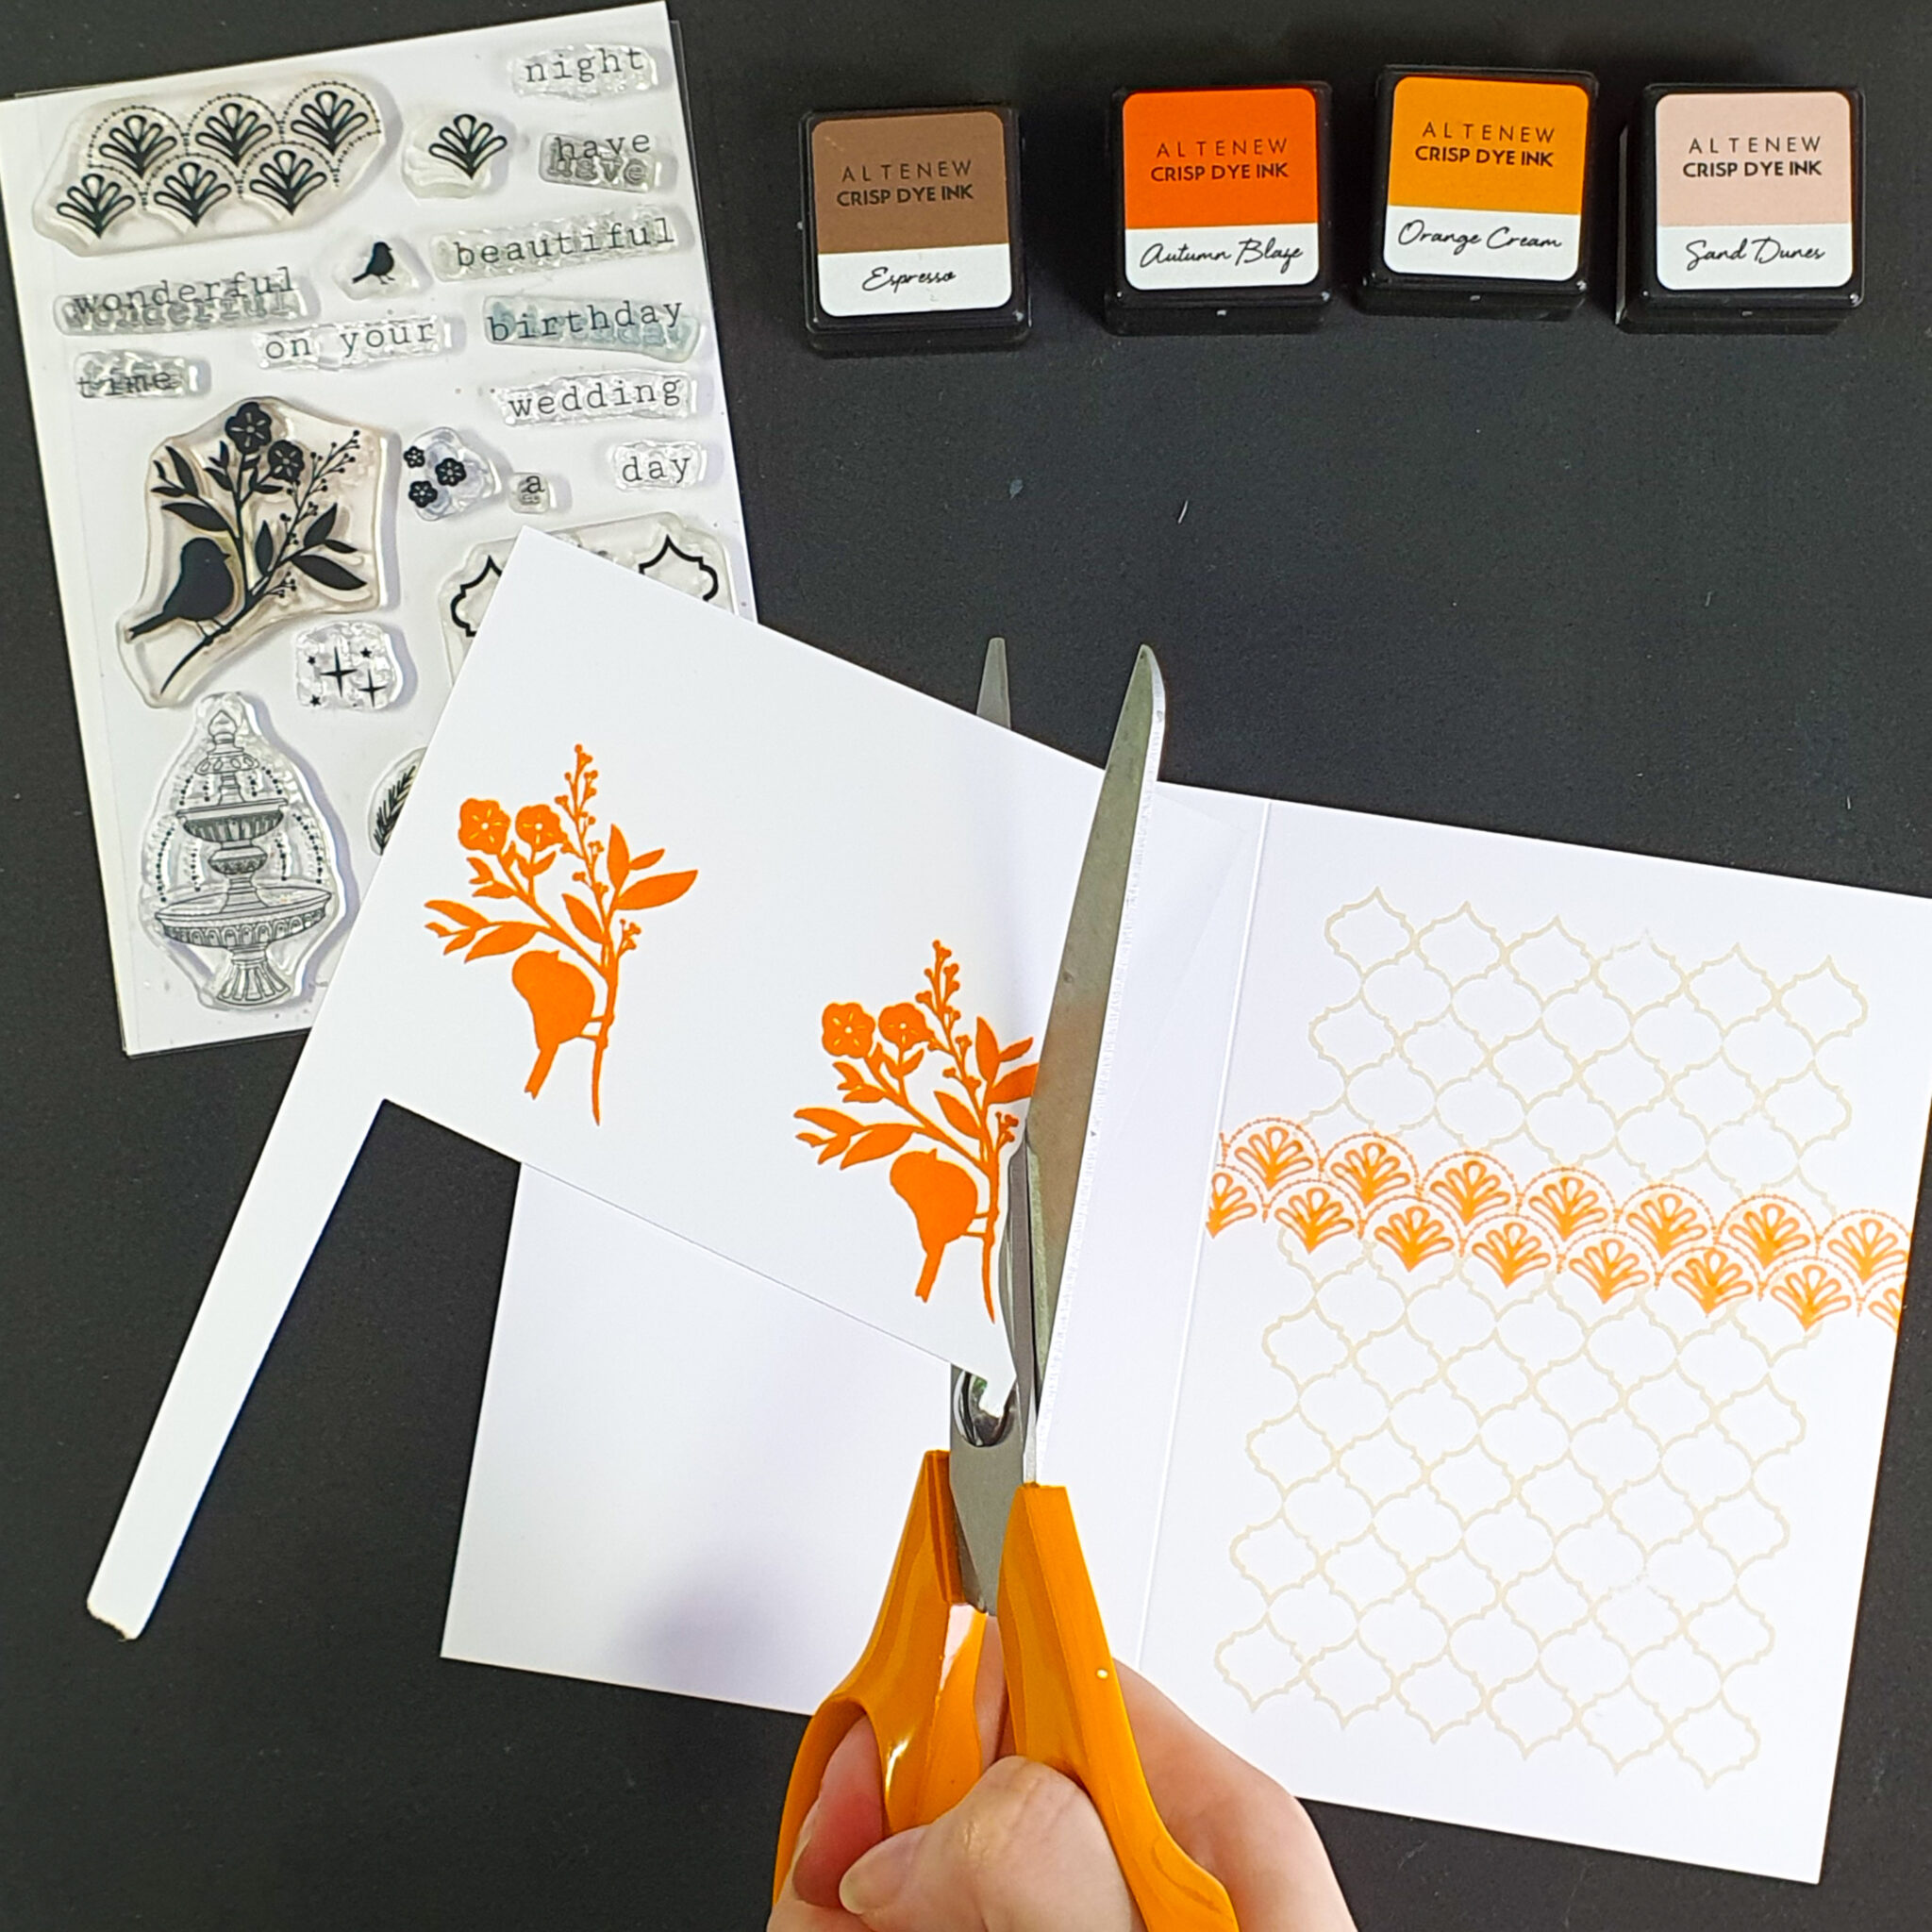
Add the bird on a branch stamp to the acrylic block. Stamp this on a separate piece of white cardstock using your third ink.
Step 4
Using scissors carefully cut out the bird on a branch image leaving a slim white border. (Crafters tend to call this ‘fussy cutting’.) Fold the card base along the score line and burnish it to get a clean crisp fold. The bird is our focal point so we will be adding dimension when we adhere this to our card base. I have added a circle of vellum too, to help blur the background and push the focal image to the front of the card. It also adds another layer of interest to your design. You can use foam tape, foam dots/squares, a couple of layers of scrap cardstock, or a piece of corrugated card to add your dimension. Adhere it across the Art Deco pattern strip.

Step 5
Finally stamp out your sentiment on a separate piece of white cardstock using the darkest ink. This stamp set has great mix and match options for sentiments. I have added my sentiment stamps to the acrylic block in two separate lines space far enough apart that I can trim them apart after they are stamped. I used a small guillotine to trim these two strips but you could use scissors or a cutting mat, ruler and craft knife combo. For interest I trimmed the edges on the diagonal. You can add these to your card base flat or with dimension, I chose to glue them flat to the card.
Step 6
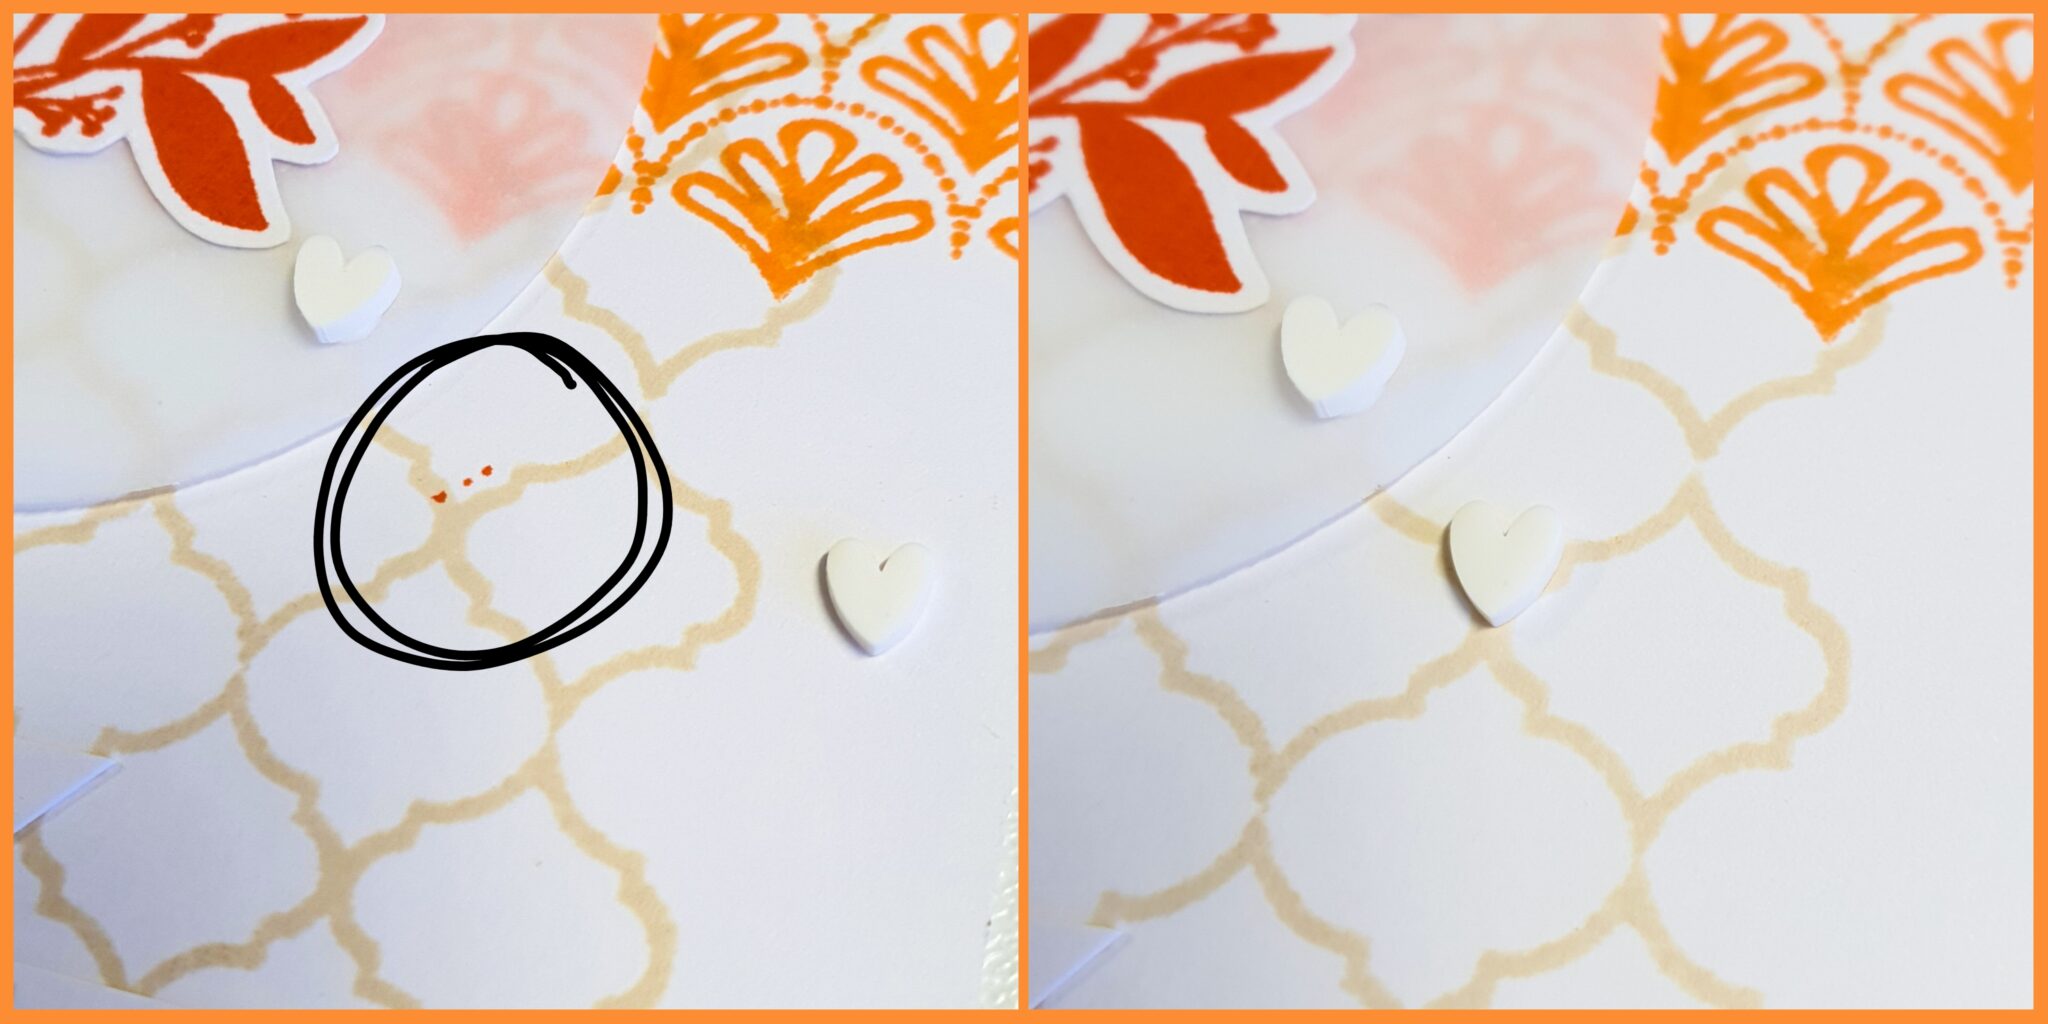
Embellish the card with a few sequins, enamel dots, clay shapes or wooden shapes. If, like I did, you have a smudge of ink on your card cover it up with an embellishment! No one will ever know!
Step 7
Using scissors carefully cut out the bird on a branch image leaving a slim white border. (Crafters tend to call this ‘fussy cutting’.) Fold the card base along the score line and burnish it to get a clean crisp fold. The bird is our focal point so we will be adding dimension when we adhere this to our card base. I have added a circle of vellum too, to help blur the background and push the focal image to the front of the card. It also adds another layer of interest to your design. You can use foam tape, foam dots/squares, a couple of layers of scrap cardstock, or a piece of corrugated card to add your dimension. Adhere it across the Art Deco pattern strip.
Step 8
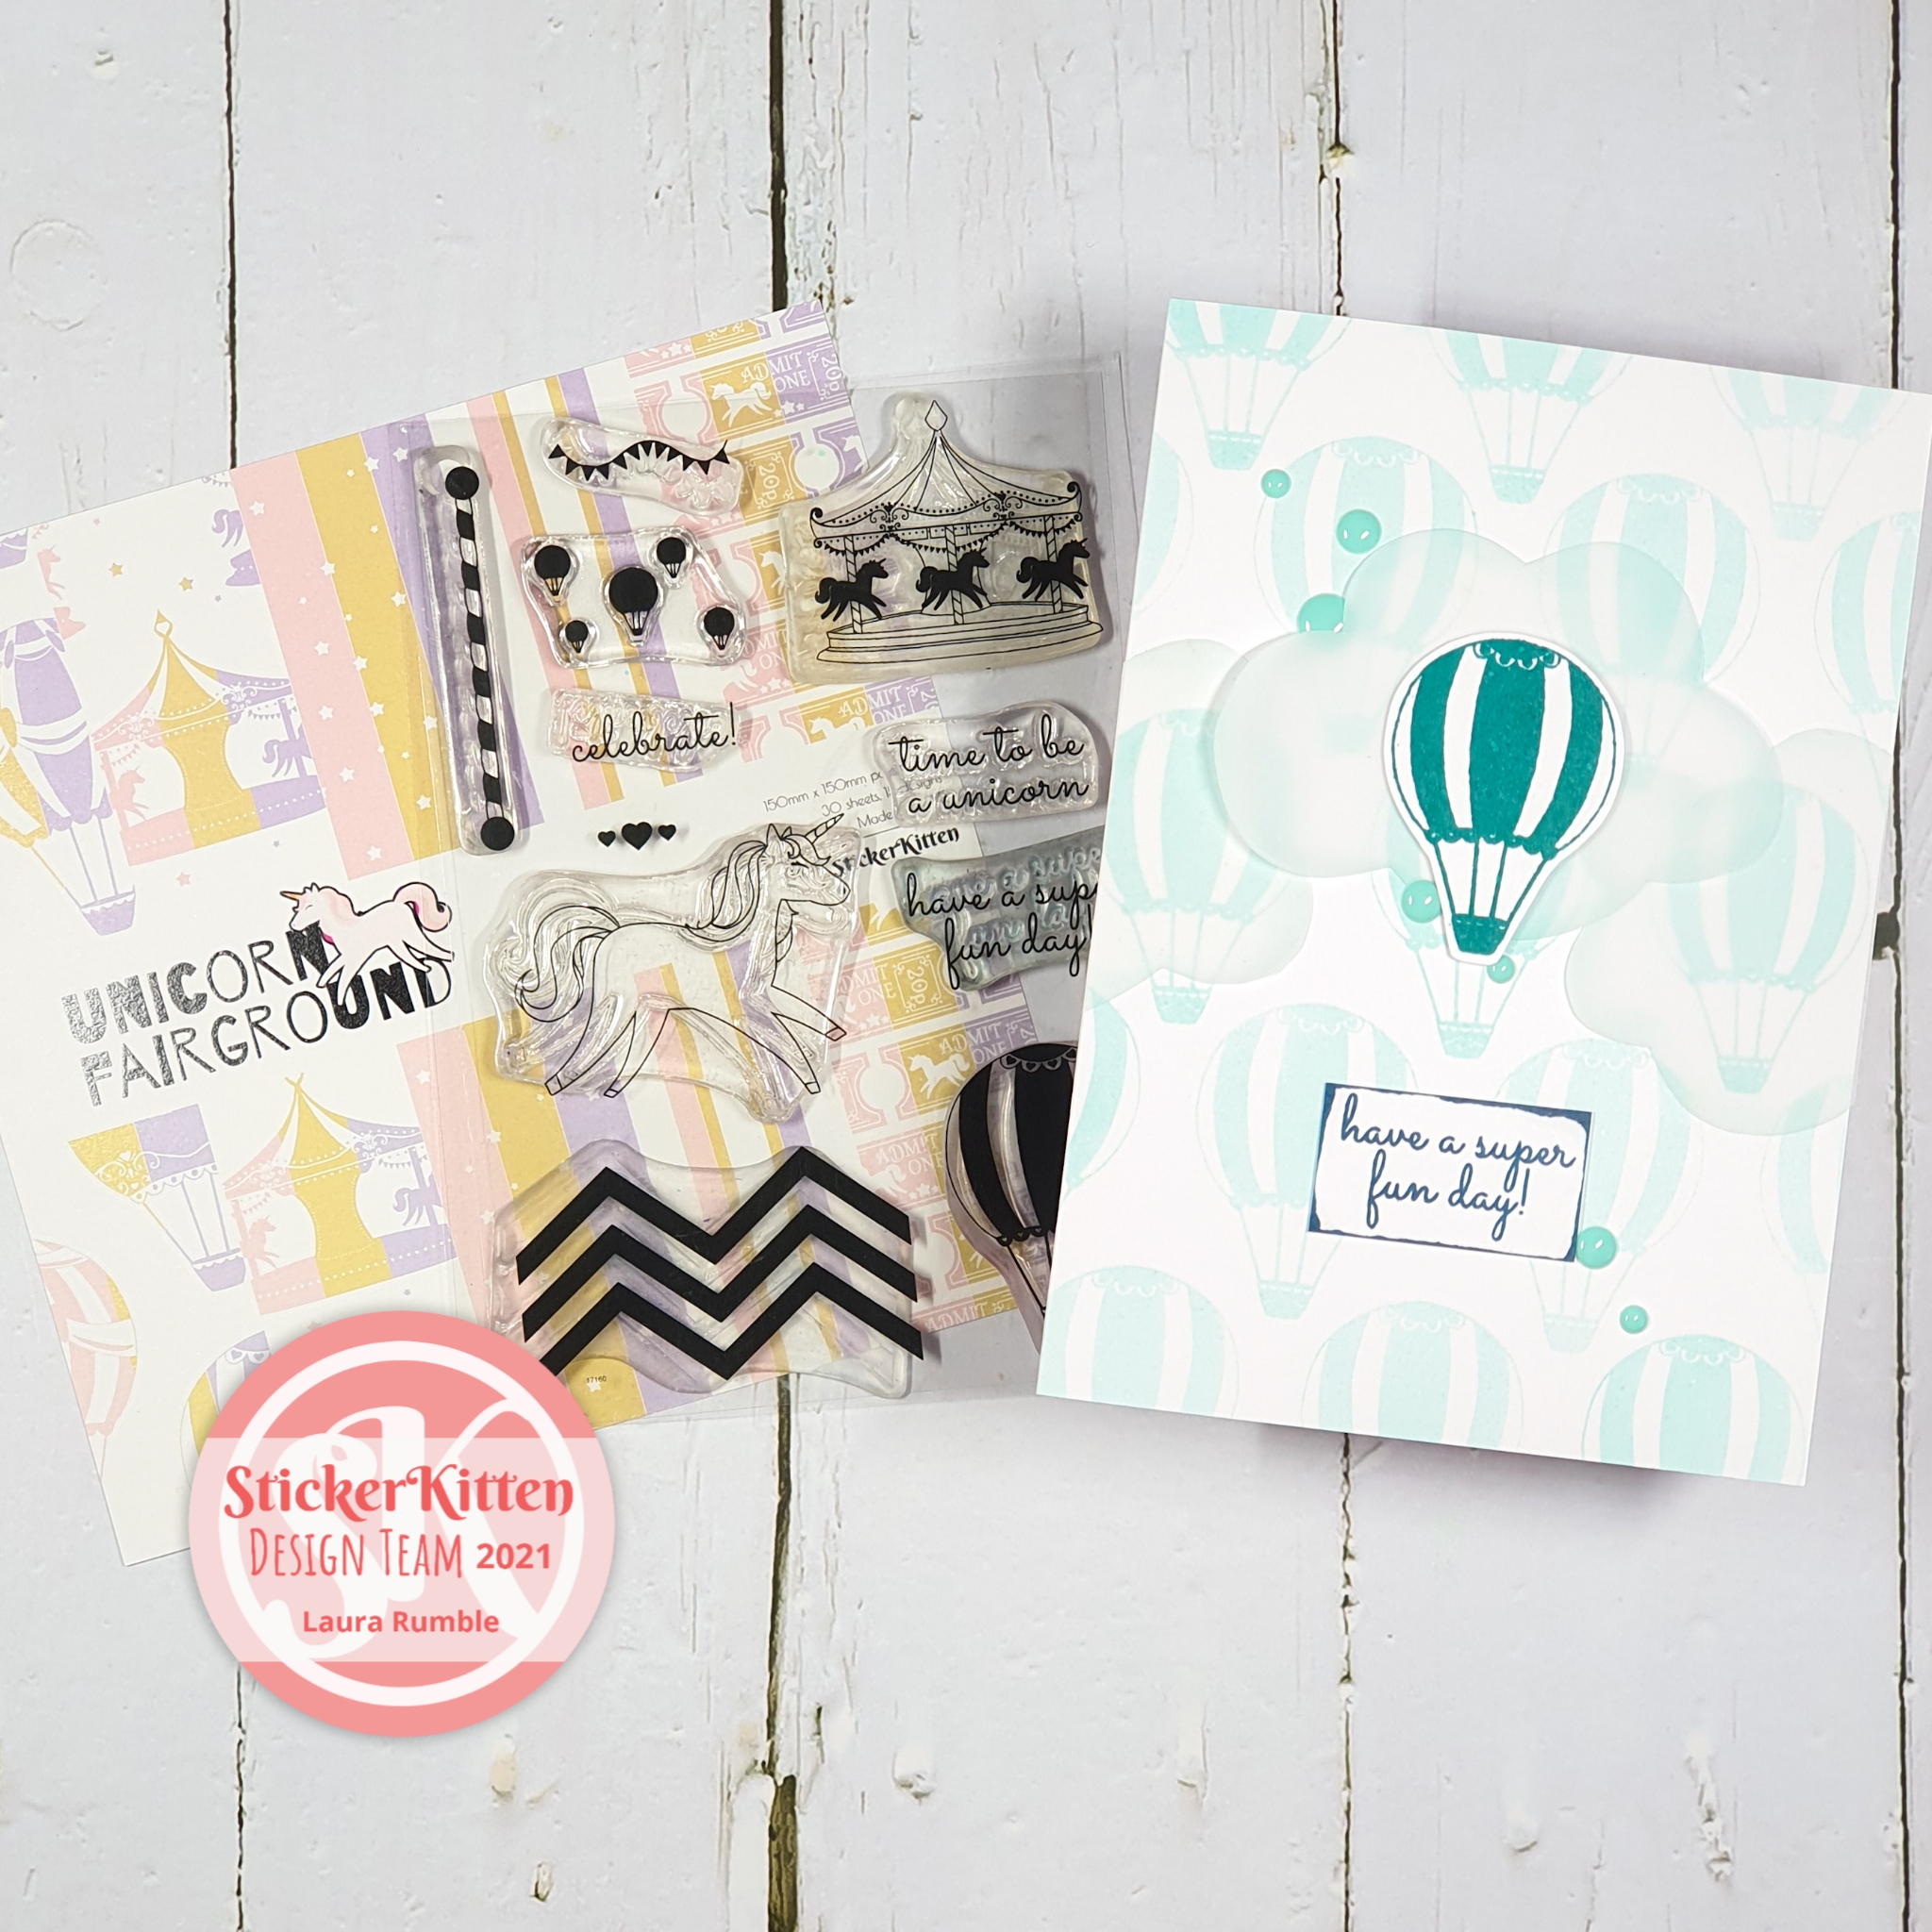
This card uses the stamp set from the Unicorn Fairground collection. I have repeat stamped the hot air balloon in the background. Stamped and cut out a hot air balloon for the focal image and hand cut some vellum clouds. I have inked the edges of the sentiment to make it stand out more. To do this I lightly dragged the ink pad over the edge of the cardstock. I have embellished with enamel dots.


Step 9
This card uses stamps from the Mermaid Treasures collection. I have repeat stamped the small shoal of fish in the background. I’ve used three of the sea creatures as focal points, added a nest of tangled thread in place of the vellum, and used two sentiments. In addition to the sequin embellishment I also added some of the tiny single fish stamps in a bright orange ink.

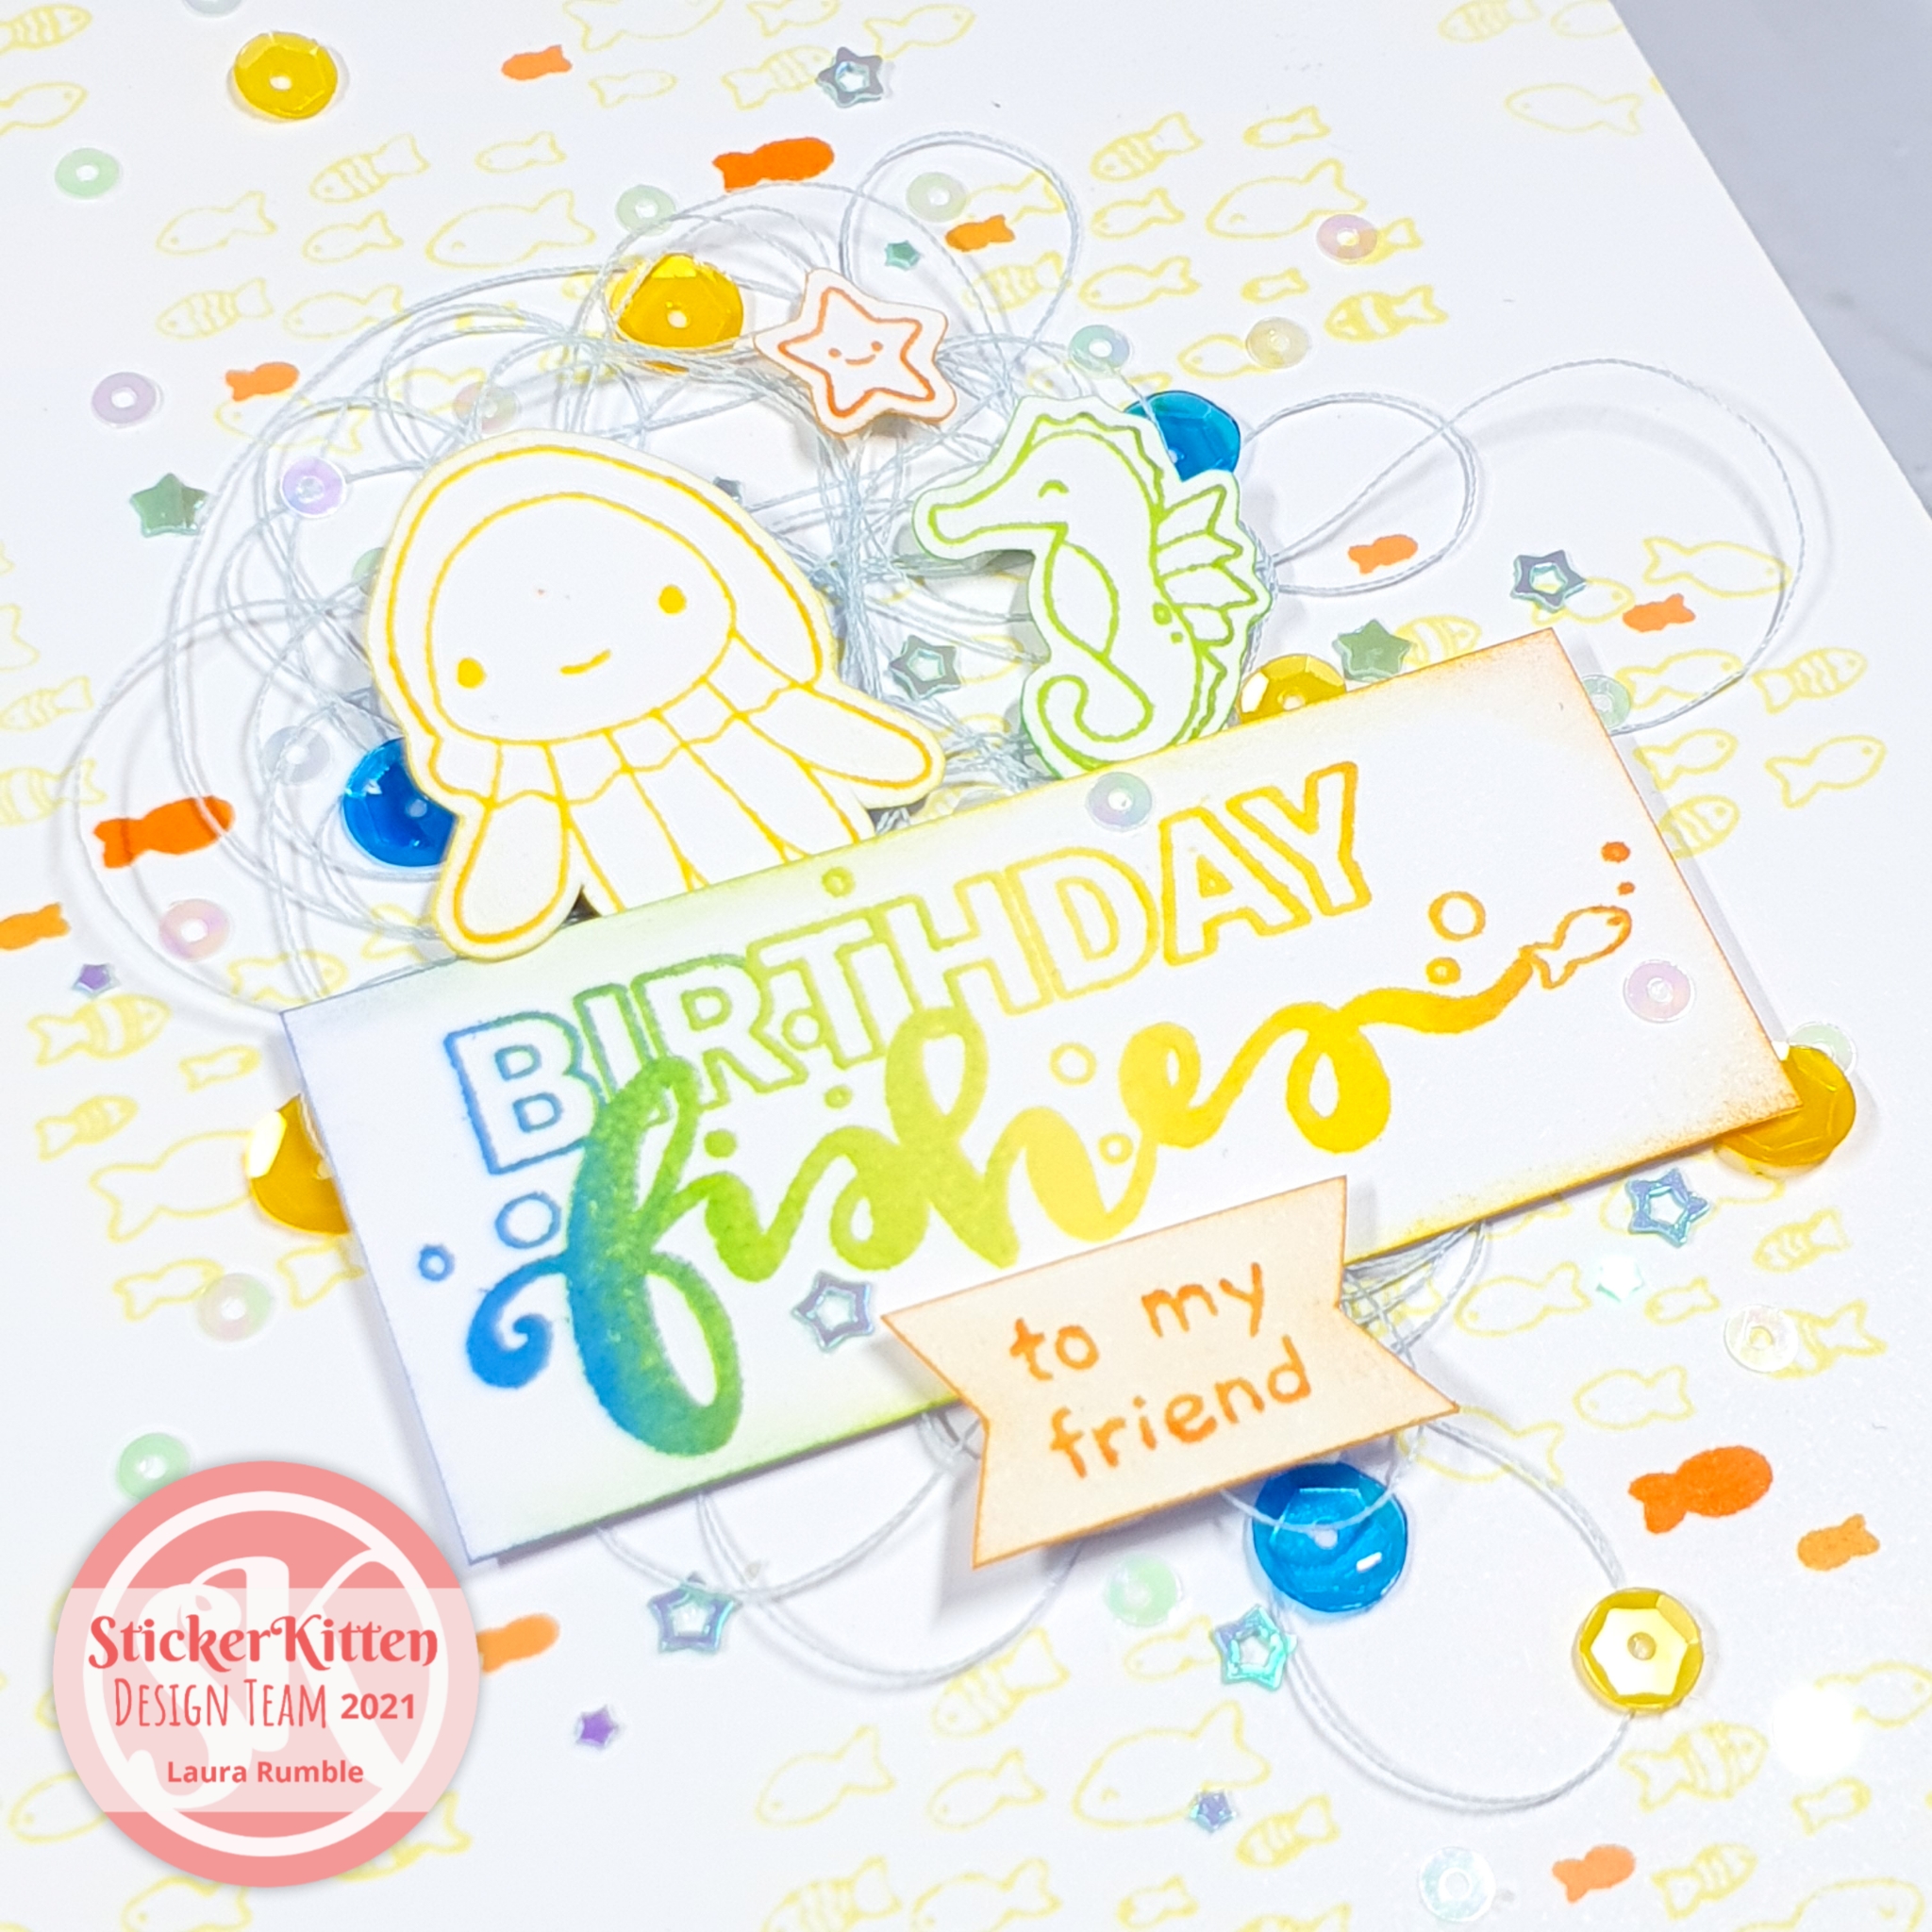
I have also used a rainbow inking technique for the sentiment. It’s possible to ink the stamp up with different shades of ink and stamp it… but it is much easier to do if you have a stamping platform. What’s a stamping platform? I’ll explain all in my next post!